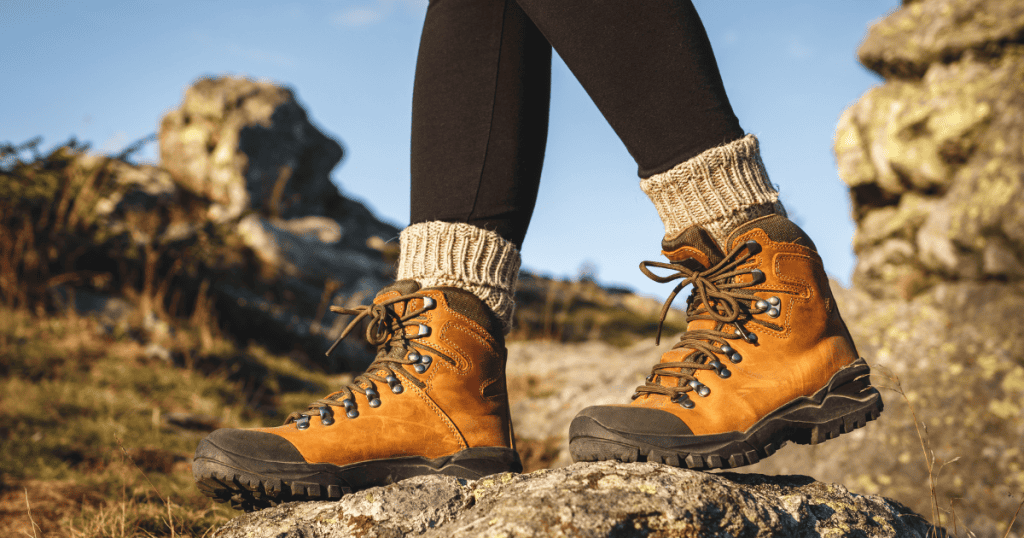
How to Break in Hiking Boots Fast: Blister-Free Trails
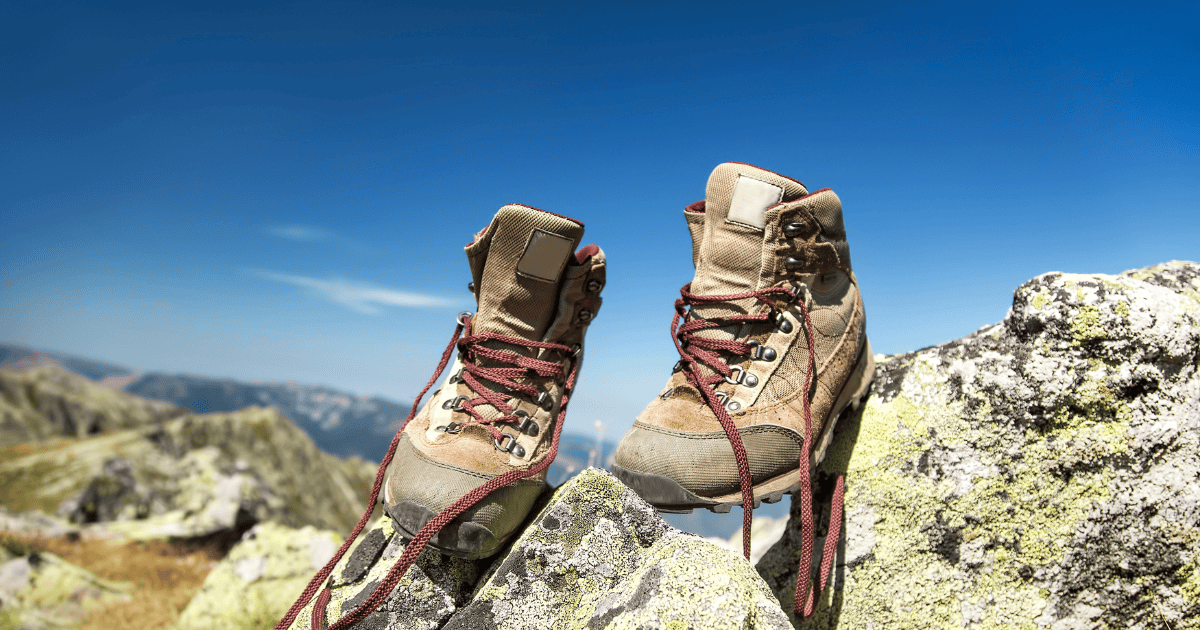
I’ll never forget standing at a trailhead feeling that dreaded burning sensation on both heels. My brand-new leather hiking boots looked absolutely perfect – and felt like medieval torture devices. That’s when I learned the hard way that advice to break in hiking boots isn’t just a suggestion, it’s absolutely essential.
Here’s the thing nobody warns you about: breaking them in properly can make or break your entire hiking experience. Whether you’ve invested in premium full-grain leather boots or lightweight synthetics, skipping the break-in process basically guarantees blisters, hot spots, and potential injuries.
But here’s the good news – it doesn’t have to be brutal! With the right techniques, proper timeline, and patience, you can transform those stiff new boots into comfortable trail companions. In this guide, I’ll walk you through everything I’ve learned about breaking in hiking boots properly, so your next hike is memorable for all the right reasons!

Why Breaking in Hiking Boots is Essential
Look, I learned this lesson the hard way on the Bruce Trail about five years ago. I’d just dropped $300 on these gorgeous full-grain leather boots and figured, hey, they fit in the store, so I’m good to go, right? Wrong. So wrong.
About 3 km into what was supposed to be a 15 km day hike, I felt it. That tell-tale burning sensation on my heel. By the time we hit the 7 km mark, I had blisters the size of loonies on both heels and my big toenails were screaming. I literally had to hike out the remaining distance in my buddy’s extra pair of Crocs. Not my finest moment.
Here’s what nobody tells you in the store: new hiking boots are basically rigid foot prisons. The leather hasn’t molded to your unique foot shape yet. The midsole is stiff as a board. And all those seams and stitching? They’re just waiting to create pressure points that’ll wreck your day.
When you skip the break-in process, you’re setting yourself up for:
- Painful blisters that can sideline you for weeks
- Black toenails from your toes jamming into an inflexible toe box
- Hot spots that develop into open wounds (yes, really)
- Potential ankle injuries because the boot isn’t moving naturally with your foot yet
The science behind it is actually pretty straightforward. Your foot has 26 bones and over 100 muscles, tendons, and ligaments. A new boot needs time to conform to this complex structure. The upper material needs to soften. The footbed needs to compress and mold to your arch. The heel counter has to break in enough to cup your heel without causing friction.
I’ve talked to professional boot fitters who say that properly breaking in your boots can extend their lifespan by 2-3 years. Makes sense when you think about it – you’re not forcing stiff materials to bend in ways they’re not ready for, which prevents premature cracking and separation.
But here’s the kicker: different boot materials require wildly different break-in periods. Those synthetic trail runners I bought last summer? Needed maybe 10 hours total. My mountaineering boots? We’re talking 80+ hours before they felt right. And that’s completely normal! The stiffer and more substantial the boot, the more time you need to invest upfront.
Trust me, your feet will thank you for taking this seriously. Nothing ruins a backcountry trip faster than foot pain that could’ve been prevented.
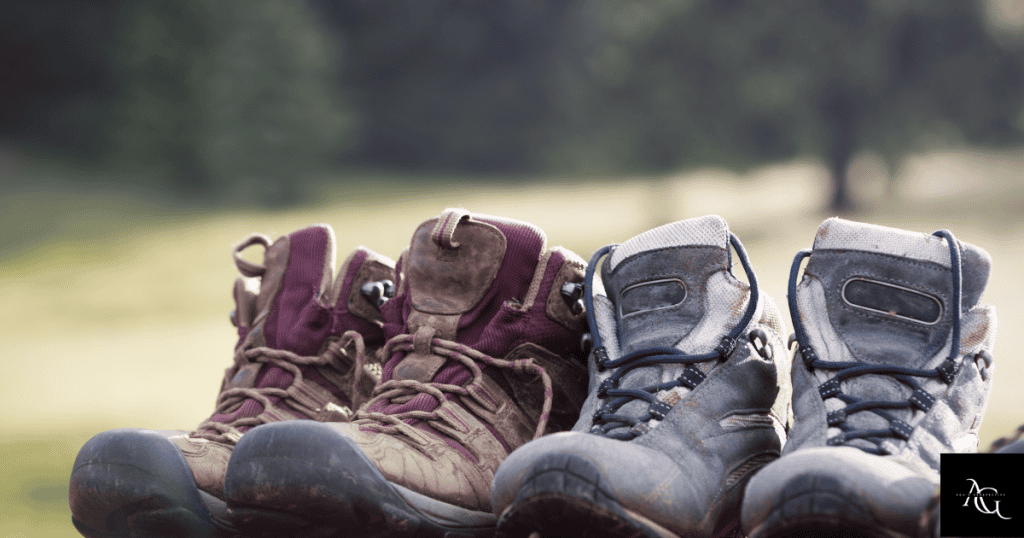
Understanding Different Boot Materials and Break-in Times
Okay, so this is where I made my second big mistake. I assumed all hiking boots were created equal when it comes to breaking them in. Spoiler alert: they’re definitely not.
My first pair of “real” hiking boots were these beautiful full-grain leather Asolos. The sales guy mentioned something about break-in time, but I wasn’t really paying attention because I was too busy admiring how tough they looked. Fast forward three months later, and these boots were still giving me grief on longer hikes. Turns out, full-grain leather boots need somewhere between 80-100 hours of wear before they’re truly trail-ready.
Compare that to my girlfriend’s synthetic Merrell boots that she literally wore once around the neighbourhood and then took on a 20 km hike in Algonquin the next weekend. No issues whatsoever. I was honestly a bit jealous.
Here’s the breakdown that I wish someone had explained to me earlier:
Full-grain leather boots are the marathon runners of the boot world. They’re incredibly durable and will last you forever, but man, do they demand patience. We’re talking 80-100 hours minimum. These are your traditional mountaineering boots, heavy-duty backpacking boots, anything that screams “I’m built like a tank.” The leather is thick and needs serious time to soften and conform to your foot shape.
Split-grain leather sits in the middle ground. Think moderate hiking boots that have leather uppers but maybe some synthetic panels mixed in. You’re looking at around 40-60 hours of break-in time. Still substantial, but way more forgiving than full-grain.
Synthetic and fabric boots? These are the instant gratification boots. Most only need 10-20 hours, and honestly, some feel perfect right out of the box. They use materials like nylon mesh, polyester, and synthetic leather that are designed to be flexible from day one. Perfect for casual day hikers or people who don’t want to commit to a long break-in process.
Then there’s hybrid construction, which is what most modern hiking boots actually are. My current Salomon boots have a combination of leather in high-wear areas and synthetic materials everywhere else. The break-in time was about 30 hours – not too bad.
Here’s something really important that the boot stiffness rating tells you.
Boots are rated B0 through B3.
- B0 boots (like trail runners) need almost no break-in.
- B1 boots (day hiking) need moderate time.
- B2 and B3 boots (backpacking and mountaineering) need the full commitment. I learned this after buying boots, which was backwards, but now I always check the stiffness rating first.
The material also affects how you should break them in, which nobody mentioned to me initially.
The Pre-Break-in Checklist: Getting Started Right
This is gonna sound obvious, but you need to make absolutely sure your boots actually fit before you start breaking them in. I cannot stress this enough because I wasted six weeks breaking in boots that were half a size too small. Six. Weeks. All that effort for boots I eventually had to return anyway.
Here’s what happened: I went to the store after work, tried on boots with my regular everyday socks, walked around the carpeted floor for maybe two minutes, and called it good. The sales associate nodded approvingly, I handed over my credit card, and off I went feeling pretty proud of myself.
Huge mistake.
You need to try boots on with actual hiking socks. And I mean the thick, cushioned hiking socks you’ll be wearing on the trail – not your thin cotton dress socks or whatever you happened to be wearing that day. The difference in fit is massive. When I finally went back with proper socks, I realized I needed to go up a full size.
The toe room thing is critical too. Stand up in unlaced boots and slide your foot forward until your toes touch the front. You should be able to fit one finger (about 1-1.5 cm) behind your heel. That’s the space you need when going downhill so your toes don’t jam into the toe box. I learned this on a descent near Rattlesnake Point where my toenails turned purple because I didn’t have enough room.
Check for heel lock by lacing the boots properly and walking around. Your heel should stay planted in the heel counter without lifting up and down. If you’re getting heel slip now, it’s not gonna magically fix itself during break-in. In fact, it’ll probably give you the worst blisters imaginable.
Walk around the store for at least 10-15 minutes if they’ll let you. Find stairs or an incline board and test going up and down. Does anything pinch? Are there pressure points on your ankles or the top of your foot? These spots might soften slightly during break-in, but major pressure points usually don’t disappear completely.
Some stores have a 30-day return policy even if you wear them outside. But check before you commit because not all retailers are that generous.
If you’ve got weird feet like me (high arches and narrow heels), consider getting them professionally fitted. I finally broke down and went to a specialty hiking shop in Toronto, and the difference was night and day. They measured my feet properly, watched me walk, and identified that I pronate slightly. Worth every penny of the fitting fee.
Step-by-Step Methods to Break in Hiking Boots That Actually Work
Alright, so you’ve got boots that actually fit. Now comes the part where most people (including past me) mess everything up by being way too impatient.
My first attempt at breaking in boots involved wearing them on an 18 km hike at Frontenac Provincial Park. Bold strategy, right? By kilometre 5, I was limping. By kilometre 10, I had removed the boots entirely and was hiking in my camp sandals. My hiking partners still make fun of me for that one.
Here’s what actually works, and I promise it’s less dramatic.
Start indoors. I know this sounds boring, but wear your boots around the house for 30-minute sessions. Do the dishes in them. Watch TV in them. Just get used to how they feel without any real consequences if things go sideways. I did this for about a week with my current Scarpas, and it made such a difference. Your feet start to warm up the materials, and the footbed begins conforming to your arch.
After you’ve logged maybe 5-6 hours indoors, take them outside for short neighbourhood walks. Start with 20-30 minutes on flat pavement. Then gradually increase to 45 minutes, then an hour. The key word here is gradually. I can’t emphasize that enough because I’ve rushed this step before and paid for it dearly.
Once you’re comfortable with flat walks, add some hills into the mix. There’s this trail near my place that’s only about 3 km but has some decent elevation changes. Perfect for testing how your boots handle inclines and – more importantly – declines. Going downhill is where you’ll really notice if your toe box needs more break-in time or if your lacing needs adjustment.
Now here’s a trick that actually works for leather boots: the warm water method. Fill a bathtub with warm (not hot!) water and wear your boots in it for about 15-20 minutes. Then wear them until they dry completely on your feet. I was super skeptical about this, but it genuinely helps leather conform faster. Just make sure your boots are actually leather and not synthetic, because synthetic materials don’t respond to this method at all.
Boot stretchers are another tool worth mentioning. You can get specific boot stretchers from outdoor stores for around $40-60, and they’re lifesavers for targeting tight spots. I had pressure on my left instep that wouldn’t quit, so I used a stretcher overnight for three nights in a row. Problem solved.
The backpack progression … Start wearing your boots with an empty daypack, then gradually add weight. Your boots need to adjust to how your foot behaves under load, which is different than walking around unburdened.
Advanced Break-in Techniques for Stubborn Boots
Sometimes boots just don’t want to cooperate. I’ve been there, staring at my expensive leather boots wondering if I’d made a terrible financial decision.
Heat molding is probably the most effective advanced technique, but here’s the catch – not all boots can handle it. Some higher-end boots are specifically designed for heat molding at the store level. Places like MEC used to have heat molding machines (I think some still do?) where they’d heat the boot in a special oven and then you’d wear them while they cooled. The materials literally conform to your foot shape.
You can do a DIY version at home, but you gotta be careful. I used a hairdryer on medium heat, focusing on problem areas for about 2-3 minutes while wearing thick socks. Then I walked around until everything cooled down. Worked pretty well on my stubborn heel counter. Just don’t overdo the heat because you can actually damage some materials or mess with the glue holding everything together.
Professional boot stretching services exist, and they’re not as expensive as you’d think. I took my boots to a cobbler who specializes in outdoor footwear, and he charged me $35 to stretch specific problem areas. He had these industrial-grade stretchers and knew exactly where boots typically need help. Money well spent.
Leather conditioning is something I ignored for way too long. Products like mink oil or specialized leather boot conditioners don’t just waterproof your boots – they actually soften the leather and speed up break-in time. I apply conditioner after every 3-4 wears during the break-in period. The leather becomes noticeably more supple.
Now, the freezer bag method sounds absolutely bonkers, but it genuinely works for tight toe boxes. Fill a heavy-duty freezer bag with water, stuff it into the toe box area, and put the whole boot in your freezer overnight. Water expands when it freezes, which stretches the leather or synthetic material. I was super skeptical until my buddy convinced me to try it on boots that were pinching my pinky toe. Gave me an extra 3-4 mm of space.
The reality is that sometimes you need to combine techniques. My current routine for stubborn boots involves conditioning the leather, wearing them with the warm water method, then using a boot stretcher overnight on problem spots. It’s like a full spa treatment for boots, and it cuts break-in time by probably 30-40%.
The Perfect Break-in Timeline: Week-by-Week Guide
Okay, so after ruining multiple hiking trips and wasting money on boots I never properly broke in, I finally developed a system that actually works. This timeline assumes you’re dealing with moderate leather or hybrid boots – adjust accordingly if you’ve got lightweight synthetic boots or heavy mountaineering beasts.
Week 1 is all about indoor wear and getting acquainted. I’m talking 30-45 minutes per day, just shuffling around your house doing normal stuff. Sounds boring? Sure. But this is where you identify pressure points before they become actual problems. I wear mine while cooking dinner, folding laundry, basically any household task where I’m on my feet anyway.
By the end of week one, you should have logged about 4-5 hours total. Your feet will start to understand the boot, and the boot will start understanding your feet. It’s like an awkward first date that needs to happen before things get serious.
Week 2 is when you take things outside. Start with neighbourhood walks, maybe 1-2 hours at a time. I like to do this with a loaded daypack weighing about 5-7 kg because your foot behaves differently under weight. My go-to route is around my local park – it’s got some paved paths, some gravel, and a few gentle hills. Nothing crazy, just enough variety to test how the boots handle different surfaces.
Do this 4-5 times during the week. By the end of week two, you’ve probably added another 8-10 hours of wear time. Things should be feeling noticeably better, though you might still have some stiff spots.
Week 3 is the game-changer. This is when you hit actual trails with real terrain. I usually head to somewhere like Rattlesnake Point or any conservation area with established trails. Start with easier 2-4 hour hikes that have some elevation gain but nothing too technical. Bring moleskin and blister prevention tape just in case, because this is where any remaining problem areas will make themselves known.
The goal this week is to get 3-4 trail sessions in. You’re not trying to crush difficult terrain yet – you’re just exposing the boots to roots, rocks, uneven ground, and seeing how everything holds up. Load your pack to about 10 kg to simulate actual hiking conditions.
Week 4 is when you test everything for real. Plan a challenging day hike, something in the 15-20 km range with decent elevation. I usually pick trails like the Cheltenham Badlands loop or sections of the Bruce Trail that are known for being a bit tougher. This is your dress rehearsal before any multi-day trips.
If you make it through a 6-hour hike without major issues, congratulations! Your boots are officially broken in. If you’re still getting hot spots or discomfort, you need more time. Don’t rush it.
Common Break-in Mistakes to Avoid
I’ve made literally every mistake in the book when it comes to breaking in hiking boots. And I mean every single one. So let me save you some pain, money, and embarrassment by sharing what NOT to do.
The biggest mistake? Going too far, too fast. This is what gets everyone, including me multiple times even after I should’ve known better. You’re excited about your new boots, the weather’s perfect, and your friends are planning a 22 km hike this weekend. So you figure, eh, I’ll just power through the break-in on the trail.
Don’t do this. Just don’t.
Here’s another massive mistake: convincing yourself that poorly fitting boots will “stretch out” during break-in. They won’t. Well, they might stretch a tiny bit, maybe 2-3% in certain areas, but if boots are genuinely too small or too narrow, no amount of break-in time will fix that. I wasted six weeks trying to break in boots that were half a size too small because the guy at the store said “leather always stretches.”
Yeah, it stretches. But not that much.
Lacing technique matters way more than most people realize during break-in. I used to just lace my boots the same way I’d lace running shoes – even tension all the way up. Wrong approach. During break-in, you need to adjust lacing tension based on what your feet are telling you. Heel slipping? Use a heel lock. Pressure on top of your foot? Skip an eyelet or loosen that zone. I didn’t learn this until a boot fitter showed me, and it changed everything.
Wearing the wrong socks is another killer. I tried breaking in my boots with thin cotton athletic socks because I didn’t want to invest in proper hiking socks yet. Cotton holds moisture, creates friction, and basically turns your feet into blister factories. Once I switched to merino wool hiking socks, the whole break-in process became like 60% less painful.
And please, for the love of everything holy, don’t break in boots ON your actual hiking trip.
Preventing Blisters During the Break-in Process
Let’s talk about blisters, because they’re basically the arch-nemesis of anyone breaking in hiking boots. I’ve had blisters so bad they’ve popped, refilled, and popped again. Not fun. Not recommended.
The single best investment I ever made was buying proper hiking socks. And I mean real hiking socks, not just “thick socks” from wherever. I use merino wool socks from Darn Tough and Smartwool, and honestly, they’re worth every penny. Merino wicks moisture away from your skin, regulates temperature, and doesn’t hold onto sweat like cotton does.
Here’s my sock strategy that actually works: I wear a thin liner sock underneath my main hiking sock. Creates two layers that slide against each other instead of rubbing against your skin. Sounds weird, but it genuinely cuts down on friction. My friend swears by this method for ultra-long hikes, and after trying it myself, I’m a complete convert.
Blister prevention tape is your best friend during break-in. I use Leukotape, which is this German athletic tape that sticks like crazy even when your feet get sweaty. Before any break-in walk longer than an hour, I tape up my heels and any other spots I know are prone to hot spots. The tape creates a smooth surface that reduces friction. Game changer.
Moleskin works too, but I find it doesn’t stick as well once moisture gets involved. It’s better for padding existing hot spots than preventing them in the first place. I keep both in my pack though, because you never know what you’ll need on the trail.
Foot powder is something I ignored for years because it seemed old-fashioned. Then I tried Gold Bond friction defense, and wow, what a difference. I apply it before putting socks on, especially during the summer months when my feet sweat more. It keeps everything dry and reduces that sticky friction that causes blisters.
Anti-chafe products like Body Glide are clutch too. I run this stuff over my heels, along the sides of my feet, and between my toes before longer break-in hikes. Creates a protective barrier that lets your skin glide instead of grabbing. Sounds gross when I describe it like that, but trust me, it works.
The most important rule: address hot spots immediately. The second you feel that warming sensation or burning spot, stop walking. I don’t care if you’re only 2 km into your hike – stop and deal with it. Take your boot off, check the area, apply tape or moleskin, adjust your lacing, whatever it takes. A hot spot caught early takes 2 minutes to fix. A blister that’s already formed can sideline you for days or even weeks.
Keep your feet dry between break-in sessions too. Let boots air out completely, change socks if they get damp, and consider using moisture-wicking insoles if you’re a heavy sweater. Wet environments are where blisters thrive.
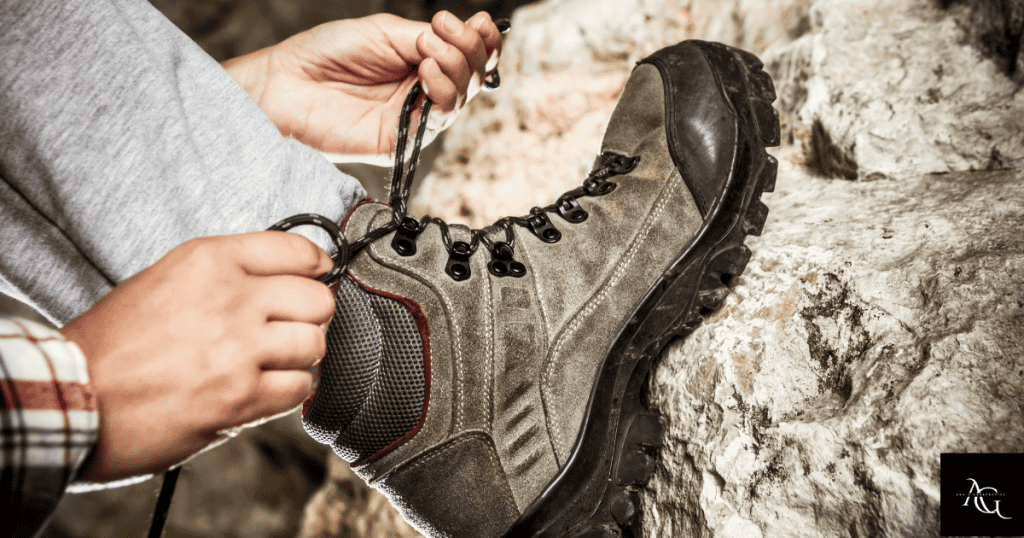
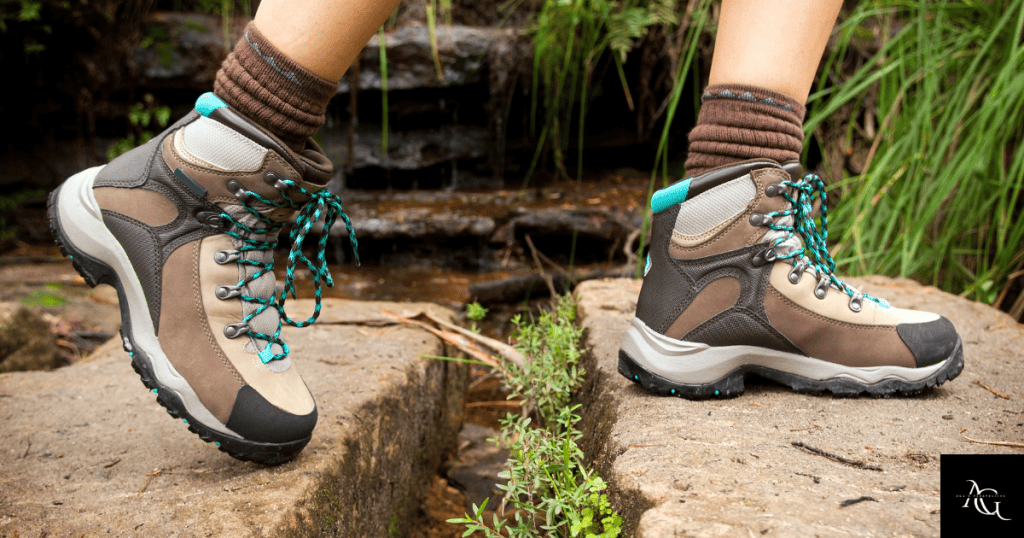
Lacing Techniques to Enhance Break-in Comfort
I’m not gonna lie – I thought lacing was just lacing for the first three years I owned hiking boots. Pull the laces tight, tie a bow, done. Turns out there’s actually a whole science to this, and learning proper lacing techniques legitimately transformed my break-in experience.
The heel lock (also called a lace lock or runner’s loop) was the first technique that blew my mind. I kept getting heel slip in my new Salomon boots, which was causing blisters on the back of my ankles. A guy at a trail parking lot noticed me limping and showed me this technique in about 30 seconds.
Here’s how you do a heel lock: When you get to the second-to-last eyelet, instead of crossing the laces over, thread each lace up through the top eyelet on the same side, creating a loop. Then cross the laces and thread each one through the opposite loop before pulling tight and tying. This creates extra tension around your ankle that locks your heel in place without tightening the entire boot.
Game. Changer.
My heel slip basically disappeared overnight. Well, after a few adjustments to get the tension right, but you get the idea.
The surgeon’s knot is another technique I wish I’d learned earlier. If you’ve got pressure on the top of your foot or your midfoot needs more support, this helps big time. Basically, you create a regular cross with your laces, but then you loop one lace around the other twice before pulling tight. Creates a knot that holds tension in that specific zone without loosening when you keep lacing up.
I use this around the third or fourth eyelet where my foot flexes, and it prevents the boot from getting too loose in the midfoot while still allowing ankle flexibility. My current boots have this weird pressure point right on my instep during break-in, and the surgeon’s knot lets me loosen that specific area without everything else going slack.
Window lacing (or skipped lacing) saved my high arches. If you’ve got high arches like me, standard lacing puts a ton of pressure right on top of your foot where it’s most sensitive. Window lacing is simple – just skip one set of eyelets in the problem area. Your laces go from the eyelet below the pressure point straight up to the eyelet above it, creating a “window” that relieves pressure.
I skip the fourth eyelet on both boots now, and the difference is massive. During break-in especially, when everything’s still stiff, this technique prevents that awful throbbing pain on the top of your foot.
Different zones of your boot need different tensions, which nobody tells you. Your toe box area should be relatively loose to allow your toes to spread naturally. Your midfoot needs to be snug for support. Your ankle can vary depending on the terrain – tighter for technical stuff, looser for flat trails.
I adjust my lacing multiple times during a break-in hike. Starting out, I keep things slightly looser. After a few kilometres when my feet warm up and swell a bit, I might need to loosen the toe box area more. Going downhill? I tighten the heel lock zone to prevent forward slide.
Factory laces are often garbage, by the way. After breaking two pairs of the original laces that came with my boots, I invested in paracord-style hiking laces. They’re thicker, grip better in the eyelets, and don’t come untied every 20 minutes like those slippery round laces.
Conclusion
Breaking in hiking boots doesn’t have to feel like preparing for battle! By following the proven techniques and timelines we’ve covered, you’ll transform those stiff new boots into comfortable trail companions that support your adventures for years to come.
Remember, patience is your greatest ally in this process—rushing the break-in period almost always leads to painful regrets on the trail. Start slowly with indoor wear, progress gradually to neighborhood walks, and build up to challenging terrain only when your feet tell you they’re ready.
Pay attention to hot spots, use proper lacing techniques, and never underestimate the importance of quality hiking socks. Whether you’re breaking in rugged leather mountaineering boots or lightweight synthetic hikers, the investment of time you make now will pay dividends in comfort and performance on every single hike.
So, lace up those boots, take it one step at a time, and get ready to hit the trails with confidence! Your perfectly broken-in boots are waiting—and trust me, your feet will thank you for doing this right.