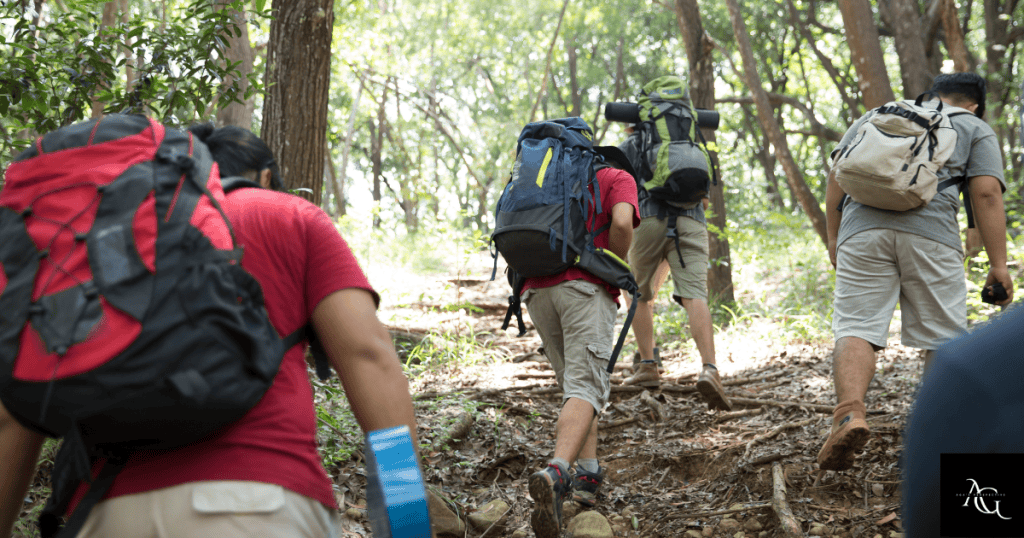
Hiking Backpack Size Guide: What Size Do I Need?

Surprisingly, 48% of hikers experience back pain due to poorly fitted backpacks. I’ve spent years helping outdoor enthusiasts find their perfect pack, and I’ll tell you – nothing ruins a beautiful trail experience faster than an ill-fitting backpack! In this hiking backpack size guide, we’ll explore everything you need to know about choosing the right backpack size, from understanding torso measurements to calculating your ideal pack capacity.
Understanding Torso Measurements
Getting the right torso measurement for your hiking backpack seems simple enough, right? Well, I learned this lesson the hard way during my early backpacking days. After one of my grueling trips with constant shoulder pain, I finally discovered my pack was totally wrong for my torso length. Like many beginners, I’d chosen my pack based on height – a mistake that cost me weeks of recovery.
Here’s the truth about torso measurements: your height has surprisingly little to do with it. Through my adventures, I’ve seen shorter folks who needed larger packs than taller hikers. It’s all about that sweet spot between your C7 vertebra (that’s the bony bump at the base of your neck) and your iliac crest (the top of your hip bones).
Let me walk you through measuring your torso the right way:
First, you’ll need a flexible measuring tape and ideally a friend to help. Trust me, trying to do this solo in front of a mirror led to some hilariously inaccurate measurements when I first started! Have your friend locate your C7 vertebra – just tilt your head forward and feel for that prominent bump at the base of your neck. That’s your starting point.
Next, place your hands on your hips, thumbs wrapping around to your back. Feel where your thumbs naturally land on your spine. That’s roughly where your iliac crest measurement line should be. The distance between these two points is your torso length.
But here’s where I messed up at first (and I’ve seen many hikers make the same mistake): measuring with a curved spine or hunched shoulders. Stand naturally! I’ve found that imagining a string pulling you up from the crown of your head helps maintain proper posture during measurement.
For women, there’s an extra consideration I discovered. Women typically have shorter torsos relative to their height compared to men, plus their shoulders often have a different shape. That’s why unisex packs sometimes feel awkward even when sized correctly. I feel as though women-specific packs, account for these anatomical differences.
Common mistakes? Oh, I’ve made them all! The biggest one is measuring over clothing. You want that tape measure as close to your spine as possible. Another error I made was not keeping the measuring tape parallel to my spine – it should follow your back’s natural curve.
Pro tip: I discovered after years of trial and error: if you’re between sizes, go with the smaller size. You can always adjust the straps to make a slightly small pack work, but a too-large pack will never sit right on your hips. I learned this after struggling with a pack that was just a bit too big – no amount of adjustment could make it feel right.
One last thing that’s super important: your torso measurement isn’t set in stone. After adding some serious muscle through rock climbing, I had to remeasure and adjust my pack size. Make it a habit to remeasure every few years or after any major physical changes.
Remember, a properly fitted pack shouldn’t feel like you’re carrying a burden – it should feel like an extension of your body. And that all starts with getting these measurements right. When you nail the torso length, suddenly those 15-mile days don’t seem quite so daunting on your shoulders!

Pack Capacity Guide by Trip Duration
Let me share what I’ve learned about choosing the right pack capacity after countless trails and plenty of pack-size mistakes along the way.
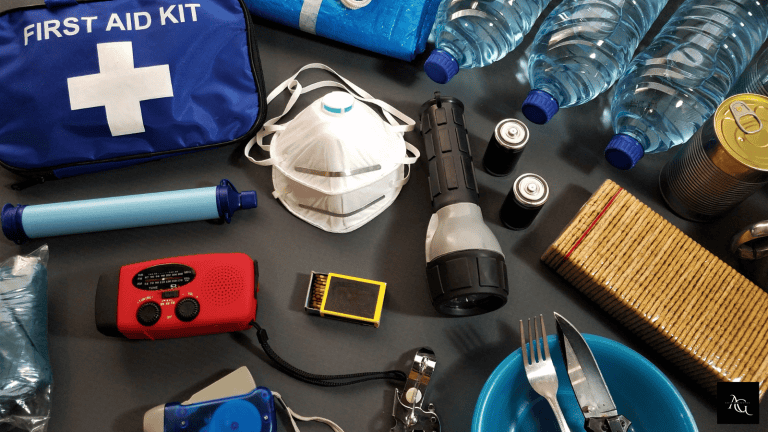
Let’s talk day hikes first. You know what’s funny? I used to always grab my massive 65L pack for day hikes because I thought “better safe than sorry,” right? What a rookie mistake! I was basically lugging around an empty apartment on my back. For day hikes, 15-30L is your sweet spot. These days, I use a 20L pack that fits my essentials perfectly: 2 liters of water, snacks, first aid kit, rain shell, and an extra layer.
Pro tip: if you can’t fit your gear in a 30L pack for a day hike, you’re probably overpacking!
Weekend adventures are where that 30-50L range really shines. I remember my first weekend trip – I tried squeezing everything into a 25L pack because I was trying to be “ultralight.” Let’s just say sleeping without a sleeping bag because it wouldn’t fit wasn’t my brightest moment! For a typical weekend trek, I’ve found that around 40L is ideal. This gives me room for my sleep system, extra clothes, food, and those little comfort items that make weekend trips enjoyable (yes, I’m talking about my inflatable pillow – total game changer!).
Now, for those multi-day expeditions, you’re looking at 50L and up. But here’s something I learned the hard way: bigger isn’t always better. On my first week-long trip, I got a massive 85L pack and guess what? I filled every single liter of it! By day three, my knees were screaming. These days, I stick to a 65L for most extended trips. It forces me to be thoughtful about what I pack while still having enough space for essentials.
Seasonal adjustments are crucial too. I remember showing up for a winter day hike with my summer pack setup – big mistake! Winter gear is bulkier, even for short trips. Here’s my personal guide developed after years of seasonal hiking:
– Summer day hike: 15-20L
– Winter day hike: 25-30L
– Summer weekend: 35-40L
– Winter weekend: 45-50L
– Summer expedition: 55-65L
– Winter expedition: 65-75L
Let’s talk weight distribution because this changed my hiking game completely. The breakthrough came when I learned the 80/20 rule: about 80% of your pack’s weight should rest on your hips, with just 20% on your shoulders. I used to load my heaviest items at the bottom of my pack (seemed logical, right?). Wrong! Now I keep heavy items like food and cooking gear close to my back and centered between my shoulder blades.
Here’s my tried-and-true packing order from bottom to top:
1. Bottom zone: lightweight sleeping gear and clothes I won’t need until camp
2. Core zone: heavy items like food, cooking gear, and water
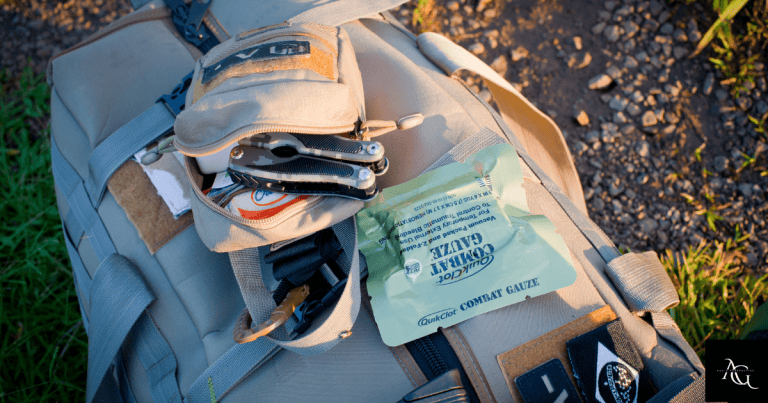
3. Top zone: quick-access items like rain gear and first aid kit
4. Tool loops and external pockets: trekking poles, map, snacks
One thing that took me ages to figure out: your pack’s capacity needs can change even if your trip duration doesn’t. These days, my weekend pack has shrunk from 45L to 35L, not because I’m taking shorter trips, but because I’ve gotten smarter about my gear choices. It’s not about having the biggest pack – it’s about having the right size for your specific needs and experience level.
Remember, these are guidelines, not rules set in stone. The best pack capacity is the one that fits your gear without having tons of empty space (which just tempts you to fill it with unnecessary items!). Trust me, your back will thank you for every liter you don’t fill!
Essential Features for Proper Fit
Let me share what I’ve learned about the crucial features that make a hiking backpack fit like a dream – or turn it into a nightmare if they’re not adjusted properly!
You know, I’ll never forget my first big hiking mistake. I had this fancy new pack with all these straps dangling everywhere, and I thought, “How complicated can this be?” Well, about 3 kilometers into what should have been a lovely day hike, my shoulders were screaming, and I felt like I was being pulled backward. Turns out, having all these adjustable features doesn’t help if you don’t know how to use them!
Let’s start with shoulder straps, because they’re not just about yanking them tight and hitting the trail. The key here is getting that perfect angle where they wrap around your shoulders without creating gaps or digging in. I learned that your shoulder straps should carry about 30% of your pack’s weight at most.
Here’s my foolproof test: if you can slide two fingers between your shoulders and the straps when loaded, you’re in the sweet spot. Any more space and the pack’s too loose; any less and you’re carrying too much weight on your shoulders.
The hip belt was my biggest “aha” moment. For years, I wore it around my waist (I mean, it’s called a waist belt sometimes, right?). Wrong! The hip belt should sit right on top of your iliac crest – that’s the bony part of your hips. When positioned correctly, you should feel the padded sections hugging the front of your hip bones.
I now tell everyone to load up their pack, loosen all straps, position the hip belt, and then tighten everything else around that anchor point.
Load lifters were a game-changer once I figured them out. These are those little straps that connect the top of your shoulder straps to the pack. They should angle back at about 45 degrees – any more or less and they’re not doing their job.
Pro tip: If your pack feels like it’s pulling you backward, your load lifters are probably too tight. I adjust mine so the pack stays close to my back without feeling like I’m being yanked around.
The sternum strap might seem minor, but it’s crucial for stability. I used to wear mine too high because it felt more secure, but boy was I wrong! It should sit about an inch below your collarbone. Fun fact: if you’re breathing heavily while hiking and your sternum strap feels restrictive, it’s too high.
I now position mine so I can comfortably take deep breaths even when crushing those uphill sections.
Now, let’s talk frame types because this changed everything for me. Internal frames are like the backbone of your pack, and they come in different styles:
– Aluminum stays (my go-to for heavy loads)
– Framesheet (perfect for lighter adventures)
– Combo systems (best of both worlds)
I learned that frame choice isn’t just about pack size – it’s about how you move. I’m a scrambler; I love going off-trail and climbing over obstacles. An internal frame with some flexibility works best for me because it moves with my body. But my hiking friend, who sticks to well-maintained trails with heavy loads, swears by his rigid frame system.
The real secret to proper fit? It’s all about order of operations. Here’s my tried-and-true adjustment sequence:
1. Position hip belt and tighten
2. Adjust shoulder straps
3. Connect and position sternum strap
4. Fine-tune load lifters
5. Tighten side compression straps
One last pro tip that took me way too long to learn: readjust everything after about 15 minutes on the trail. Your pack settles, straps loosen, and what felt perfect in the parking lot might need tweaking once you’re moving. These days, I actually look forward to that first adjustment break – it’s like giving my pack a quick tune-up for the adventure ahead!
Remember, a properly fitted pack shouldn’t feel like a burden. If you’re getting hot spots or aches anywhere, something needs adjusting. Your pack should feel like it’s hugging you, not fighting you with every step.
Specialized Size Considerations
Let me share what I’ve learned about specialized backpack sizing after years of fitting packs for all sorts of amazing hikers. Trust me, there’s no such thing as “one size fits most” in the outdoor world!
Let’s start with kids’ backpacks because this is where I see parents make the biggest mistakes. I still remember fitting a 10-year-old whose parents bought him an “adult small” pack to “grow into.” Poor kid was practically tipping backward on the trail! Here’s the deal: a child’s pack should never exceed 20% of their body weight, and the pack itself shouldn’t be more than 10-15% of that total. For young hikers, look for adjustable suspension systems that can grow with them. The sweet spot for torso length adjustment range is usually between 11-17 inches for kids’ packs.
Plus-size hiking has taught me some of my most valuable lessons about pack fitting. One breakthrough moment came when helping a client who’d given up on hiking due to uncomfortable packs. The game-changer? Focusing on hip belt extenders and S-curved straps. Most standard hip belts range from 25-40 inches, but quality plus-size packs should extend to 55+ inches. Here’s what I’ve learned matters most:
– Wide, padded shoulder straps that distribute weight without digging
– Adjustable hip belt angles to accommodate different body shapes
– Load lifter straps that can be positioned wider apart
– Longer torso adjustment ranges
Now, ultralight packs? That’s a whole different ball game! I made the mistake of assuming ultralight meant simpler sizing – wrong! These minimalist packs actually require more precise fitting because they have less padding and fewer adjustment points. The key is understanding that ultralight packs typically sit closer to your body, so torso length becomes even more critical. I usually recommend sizing down if between sizes because a too-large ultralight pack can’t be compensated for with adjustments like a traditional pack can.
Women-specific design features were a revelation to me. It’s not just about making packs in different colors (though who doesn’t love options?). The real differences are structural:
– Shorter torso lengths (typically 14-18 inches compared to men’s 16-21 inches)
– More conical hip belts that account for wider hip angles
– Shoulder straps curved to accommodate chest anatomy
– Narrower pack width to match typically narrower shoulders
Athletic builds present unique challenges because muscle distribution can affect how a pack sits. For athletic builds, I’ve found these adjustments crucial:
– Using packs with higher adjustability in the shoulder area
– Focusing on hip belt stability to counter broader upper bodies
– Looking for packs with wider ranges of load lifter adjustments
– Considering female-specific packs for athletic males with narrower waists
Here’s something that surprised me: athletic builds often need smaller, not larger, torso lengths than you might expect.
One of my favorite fitting tricks for specialized sizes is the “reach test.” Basically, you should be able to reach your water bottle pockets without taking the pack off, regardless of your body type. If you can’t, the pack’s not fitted correctly for your build.
The bottom line I’ve learned? “Average” body types are a myth, and the best pack is the one that fits YOUR body, not the one that’s supposedly made for your demographic. Don’t be afraid to try packs marketed to different groups – some of my male friends swear by women’s packs, and I’ve got plenty of women who prefer traditional unisex models.
Remember, these aren’t just comfort considerations – they’re safety issues too. A poorly fitted pack can throw off your balance and lead to injuries, regardless of your body type. Take the time to get it right, and don’t settle for “good enough” when it comes to fit!

Pack Loading and Size Impact
Let me share my approach to pack loading and sizing.
You know what’s funny about pack loading? Most of us start out thinking it’s just about stuffing everything in until it fits. I used to be that person who’d just cram things in randomly, wondering why my back was killing me after just a few miles. Then I had this lightbulb moment while helping a seasoned mountaineer pack for an expedition.
Let’s talk weight distribution first, because this is absolutely crucial. Think of your pack like a sandwich – you want the heaviest stuff in the middle, right against your back. Here’s my tried-and-true packing zone system:
– Bottom zone: Light, bulky stuff you won’t need until camp (sleeping bag, extra clothes)
– Core zone (the money spot!): Heavy items like food, water, cooking gear
– Top zone: Light but frequent-use items like rain gear, first aid kit, snacks
– Front pocket: Map, compass, sunscreen, and other quick-grab items

I learned about volume optimization the hard way. Picture this: I’m trying to fit a week’s worth of gear into a 65L pack, and I can’t figure out why everything won’t fit when my friend’s identical pack seems half-empty. Turns out, I was creating what I now call “dead space” – those annoying little gaps between gear that eat up valuable volume. Here’s what I do now:
– Use stuff sacks strategically (not everything needs its own bag!)
– Fill hollow items (stuff socks into boots)
– Roll clothes instead of folding
– Use compression sacks for sleeping bags and puffy layers
The compression system on your pack isn’t just for looks (though I didn’t know that at first!). I’ve found three main ways to use compression straps effectively:
1. Stabilize partial loads (crucial for day hikes with a bigger pack)
2. Create external storage space by cinching gear to the outside
3. Reduce pack volume when carrying less gear
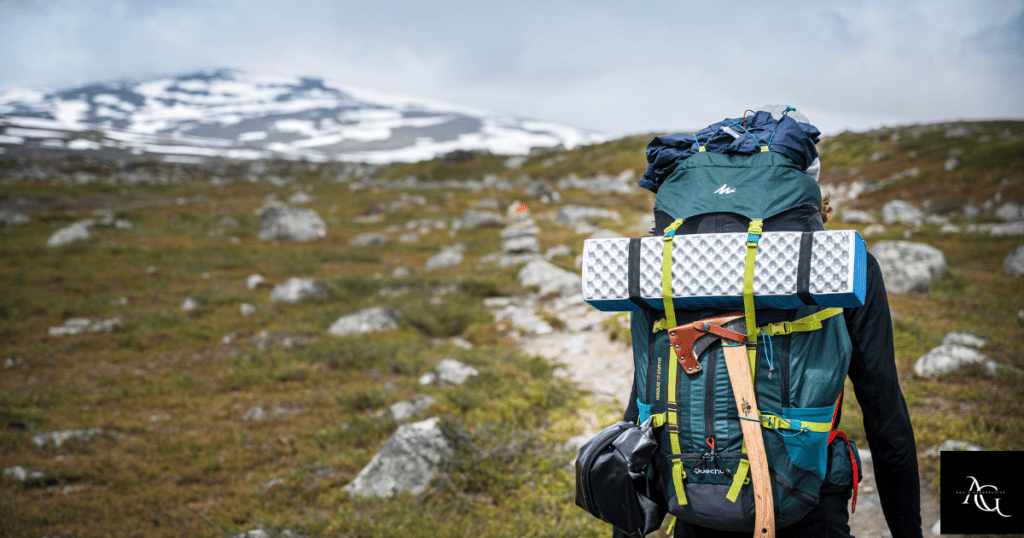
Speaking of external attachments, there’s definitely a right and wrong way to use them. I learned this after watching my tent bounce around like a pinball because I hadn’t secured it properly. Here’s my external attachment priority list:
– Trekking poles: Side compression straps or dedicated loops
– Sleeping pad: Bottom straps if it’s bulky
– Tent: Inside if possible, but if external, close to your back
– Ice axe/technical gear: In designated tool loops only
The real game-changer for me was understanding how gear selection impacts pack size. I used to think I needed a massive pack because my gear was bulky. Then I started making smarter choices:
– Switched to a compressed synthetic sleeping bag (saved 6L of space!)
– Invested in lightweight, packable layers
– Choose multi-purpose items when possible
– Updated my old bulky gear to more compact versions
Here’s a pro tip that took me years to figure out: your pack’s stated volume (like 65L) isn’t a packing goal! I now aim to pack about 80% of my pack’s total volume. This leaves room for food resupplies, group gear distribution changes, and those little souvenirs you can’t resist picking up along the trail.
Remember, a well-loaded 50L pack will feel better than a poorly loaded 40L pack, even with the same gear. It’s not just about whether everything fits – it’s about how it rides on your back. And trust me, your back will definitely let you know if you get it wrong!

Conclusion
Finding the perfect hiking backpack size doesn’t have to be a challenge. Remember to prioritize torso measurement over height, consider your typical trip duration, and always test the pack with weight before hitting the trail. Hope you enjoyed this Hiking Backpack Size Guide. Ready to find your perfect pack? Visit your local outdoor retailer for a professional fitting, and don’t forget to bring this guide along!