Essential Day Hike Packing List 2025: Everything You Need for a Safe Adventure
Did you know that 83% of hiking incidents could be prevented with proper preparation?
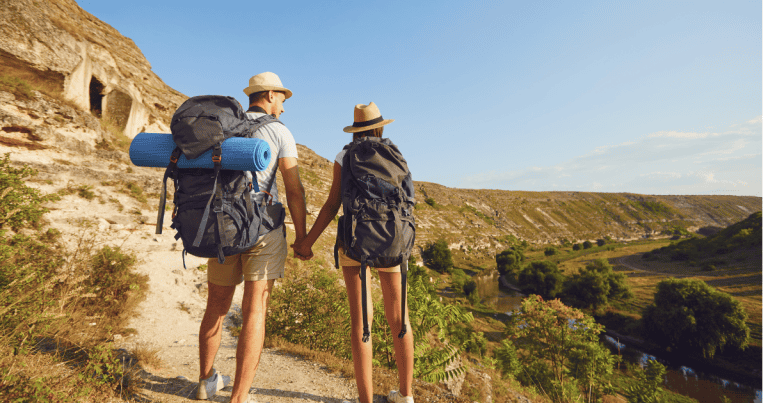
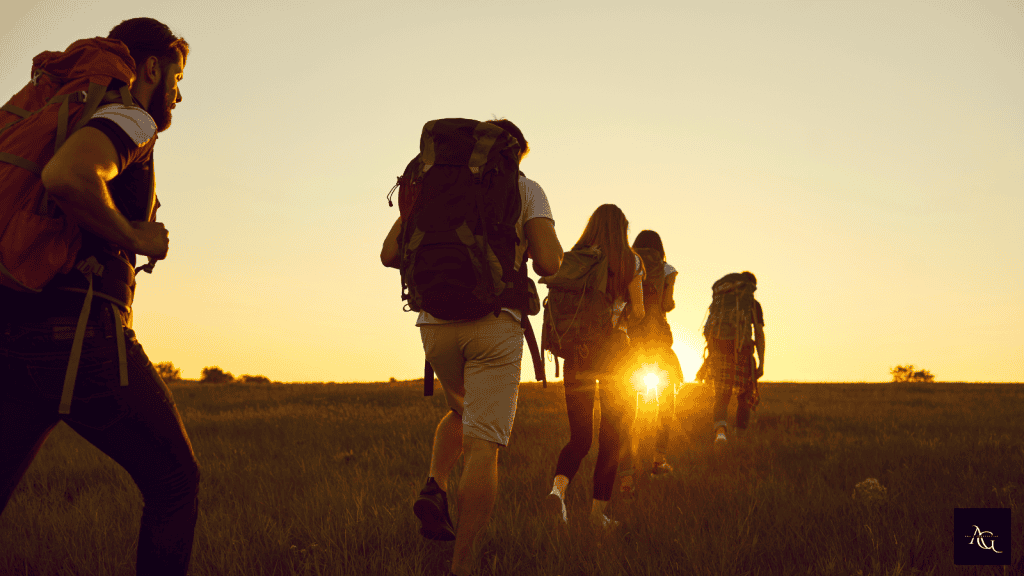
Whether you’re hitting your local trails or exploring new terrain, having the right gear can make the difference between an amazing adventure and a miserable experience. As an avid hiker, I’ve learned (sometimes the hard way!) what’s truly essential for a day on the trails. Let’s pack your backpack with everything (hence the day hike packing list) you need for a safe and enjoyable hike!
Let me share what I’ve learned about hiking safety gear after years of trail adventures. Trust me, this stuff isn’t just extra weight in your pack – it’s your backup plan when things get tricky!
I’ll never forget the time I got caught on a “simple” day hike in the Don Valley trails when my phone died and the sun started setting way earlier than expected. Talk about a wake-up call! Now I always pack my trusty old-school compass and a paper map alongside my GPS device.
Yeah, maybe I’m being extra careful, but better safe than wandering around in the dark, right?
Essential Safety Gear for Day Hiking
Let’s break down the essential safety gear you absolutely need (and I mean need) for day hiking:
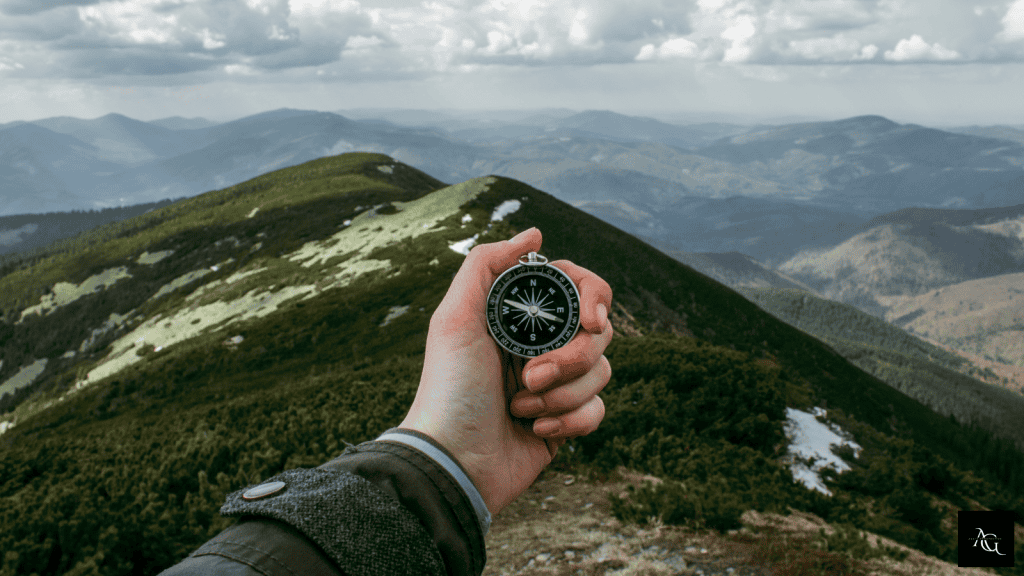
Navigation is your first line of defense. Even on well-marked trails, you’d be surprised how easy it is to take a wrong turn. I always carry:
- A waterproof paper map of the trail area (phones die, but paper maps don’t!)
- A basic compass (I learned how to use one at a local TRCA class – totally worth it)
- My Garmin GPS device with extra batteries
- My phone with downloaded offline maps (AllTrails Pro has saved my behind more than once)
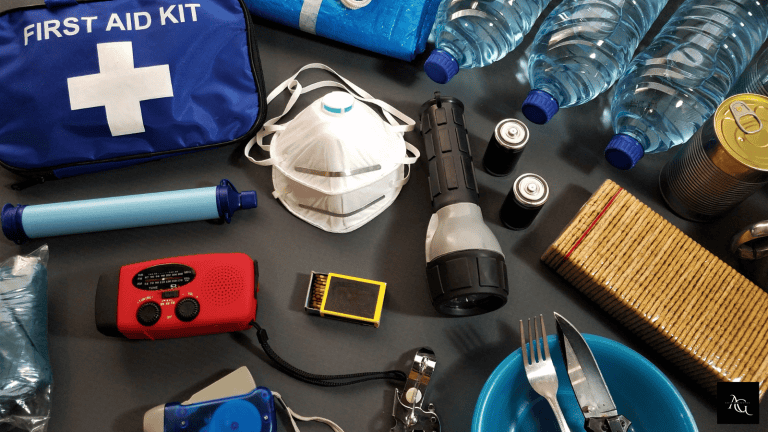
For first aid, I’ve refined my kit over the years to include just what I actually use:
- Bandages in various sizes
- Blister prevention patches and moleskin
- Pain relievers (both ibuprofen and acetaminophen)
- Anti-inflammatory cream
- Antihistamines (after one scary bee sting incident, these are always in my pack)
- Any personal medications you need
Emergency shelter might sound extreme for a day hike, but hear me out. That time I got lost? An emergency blanket would’ve made those extra couple hours way more comfortable. I now carry:
- A lightweight emergency blanket
- A small tarp (doubles as a rain shelter or picnic spot!)
- A few large garbage bags (multi-purpose and weightless)
Lighting is non-negotiable. Even if you’re planning to be back by sunset, pack:
- A headlamp (hands-free is the way to go)
- Extra batteries
- A small backup flashlight

For emergency communication, don’t just rely on your phone. I learned this lesson when I had zero bars at the top of a local peak. Now I carry:
- A fully charged phone (obvious, but important!)
- A portable battery pack
- A whistle (three short blasts is the universal distress signal)
- A small mirror for signaling (sounds old school, but it works!)
Here’s a pro tip that took me way too long to figure out: organize all this gear in color-coded stuff sacks. Red for first aid, yellow for emergency gear, blue for electronics. When you need something quickly, you’ll know exactly where to look.
Remember, the key isn’t just having this gear – it’s knowing how to use it. I spent one rainy Saturday afternoon practicing with my compass in a local park, and let me tell you, it was time well spent. Take some time to familiarize yourself with your gear before you need it for real.
The best part about having proper safety gear? The peace of mind it gives you to fully enjoy your hike. Because at the end of the day, that’s what we’re out there for – to enjoy nature, not worry about what could go wrong!
Weather Protection and Clothing
Let me tell you about dressing for hiking success – and boy, have I learned these lessons the hard way! Nothing teaches you faster about proper hiking clothes than getting caught in unexpected weather on the trail.
I’ll never forget that spring hike at Rouge Valley when I thought, “Oh, it looks sunny enough!” Only to end up shivering in a cotton t-shirt when the temperature dropped 15 degrees and the clouds rolled in. That’s when I really understood why experienced hikers always talk about layering!
Let’s break down the layering system that’s saved my hide countless times:
– Base layer: Think moisture-wicking materials like merino wool or synthetic fabrics. Cotton is a big no-no (I learned that the hard way). It holds onto sweat and stays wet forever!
– Mid layer: This is your insulation. I love a good fleece jacket – cozy but not too bulky.
– Outer layer: Your protection against wind and rain. A lightweight rain jacket is worth its weight in gold.
Speaking of rain – don’t get me started on my “water-resistant” jacket that turned out to be about as waterproof as a paper towel. Now I always pack:
- A genuinely waterproof rain jacket (check those seams are sealed!)
- Quick-dry hiking pants (zip-off ones are amazing for temperature changes)
- A waterproof stuff sack for my phone and other electronics
Sun protection isn’t just about avoiding an embarrassing hiker’s tan (though trust me, I’ve had some interesting ones). You need:
- A wide-brimmed hat (I prefer ones with neck coverage)
- UV-protective sunglasses
- High SPF sunscreen (reapply every 2 hours – set a timer on your phone like I do)
- UPF-rated hiking shirts (game-changers for summer hikes)
Extra clothing might seem like unnecessary weight, but after sitting in wet socks for 6 hours once, I always pack:
- An extra pair of socks (your feet will thank you)
- A lightweight packable puffy jacket
- Dry base layer
- Gloves and beanie (they take up minimal space but make a huge difference)

Now, let’s talk about feet! I once did a 10km hike in regular running shoes and my toes reminded me of that mistake for days. Here’s what I’ve found works:
- Proper hiking boots or shoes with ankle support
- Moisture-wicking hiking socks (worth every penny)
- Liner socks for blister prevention on longer hikes
- Breaking in new boots BEFORE hitting the trails (trust me on this one)
Season-specific gear has become my specialty after hiking year-round in Ontario. Each season needs its own consideration:
Spring: Pack for mud and rain. Waterproof boots are essential, and gaiters aren’t overkill.
Summer: Focus on sun protection and ventilation. Those convertible pants I mentioned? Perfect for this.
Fall: Layer up! Temperatures can swing wildly. I pack a light puffy jacket even on warm days.
Winter: Insulated boots, wool socks, and multiple layers. Plus hand warmers – they’re lifesavers!
Here’s a pro tip that took me years to figure out: pack your spare clothes in a compression sack. It saves so much space and keeps everything dry. And always check the hourly weather forecast for your specific trail location, not just your city. Mountain weather can be dramatically different from valley weather!
Remember, there’s no such thing as bad weather, just inappropriate clothing choices. Once you nail down your clothing system, you’ll be amazed at how much more enjoyable hiking becomes, no matter what Mother Nature throws at you!
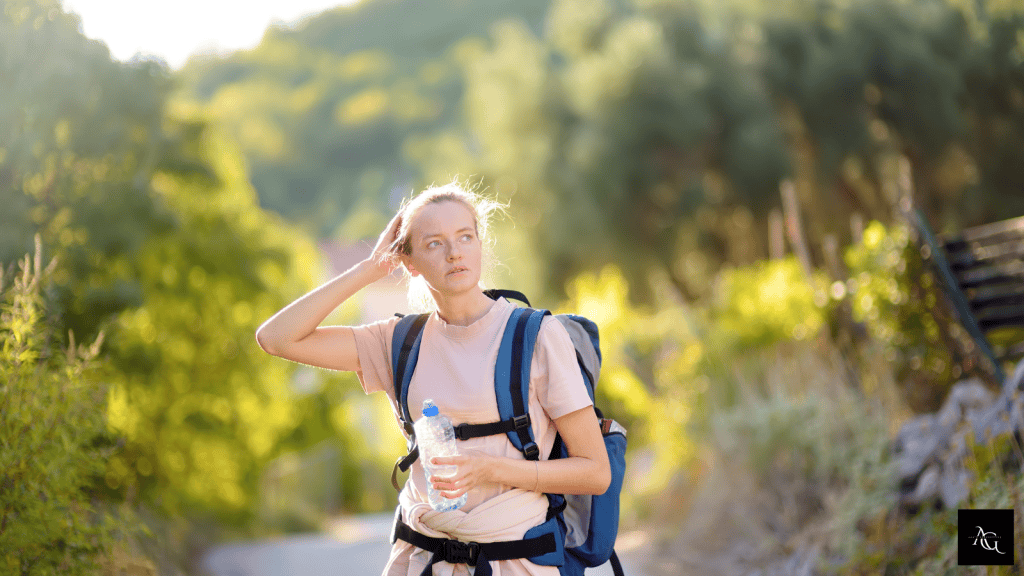
Food and Hydration Essentials
Let me share my hard-learned lessons about food and water on the trails – because nobody wants to deal with dehydration or hunger when they’re miles from the trailhead!
I still remember the time I thought a single water bottle would be enough for a “quick” summer hike at Rouge Valley. Three hours and many thirsty moments later, I learned that when it comes to water, more is definitely better. Now I follow the “one liter per two hours” rule, and I’ve never regretted carrying extra water!
Let’s talk about water carrying options first:
- I use a 3L hydration bladder for longer hikes (total game-changer not having to stop for water)
- Two 1L water bottles for shorter hikes (one with plain water, one with electrolytes)
- In winter, I insulate my water tubes so they don’t freeze (learned that one the hard way too!)
Water filtration isn’t just for backcountry hikers. I always carry:
- A lightweight Sawyer Mini filter (weighs nothing but provides peace of mind)
- Water purification tablets as backup
- A collapsible water bottle for filtered water
Now, onto everyone’s favorite topic – trail snacks! After bonking hard halfway through a hike once, I’ve dialed in my snacking strategy:
- Trail mix with a 50/50 mix of nuts and dried fruit (make your own to control the sugar)
- Energy bars (I keep one per hour of planned hiking plus two extras)
- Salty snacks like pretzels or crackers (trust me, you’ll crave salt)
- Fresh fruit like apples or oranges (natural sugar boost plus refreshing!)
Electrolyte replacement is super important, especially on hot days. I’ve tried them all:
- Electrolyte powder packets (they barely weigh anything)
- Salt tablets for really sweaty days
- Coconut water (a bit heavy but worth it for shorter hikes)
- Sports drinks (mix them stronger than normal for hiking)

Emergency food is something I never skip after that time I got turned around and a 2-hour hike became 5 hours. I always pack:
- Two emergency protein bars (the kind that’s good for a year)
- A small bag of nuts (calorie-dense and doesn’t spoil)
- Energy gels (they’re not just for runners!)
- Hard candy (quick sugar boost when needed)
Here are my favorite food packing tips that I’ve picked up over the years:
- Repack everything into zip-lock bags (removes bulk and keeps things dry)
- Keep snacks easily accessible in hip belt pockets
- Pack heavy items like water closest to your back
- Separate lunch items from snacks (helps with rationing)
- Use different colored bags for different meal times
One thing I’ve learned about trail food: it’s better to pack a little extra than not enough. You might not need it, but if you do, you’ll be so glad it’s there. Plus, you can always share with hungry hiking buddies – I’ve made some great trail friends that way!
Pro tip: Before any hike, I eat a solid breakfast and pack snacks I’ll actually want to eat. Those “healthy” kale chips might seem like a good idea at home, but trust me, when you’re hungry on the trail, you want real food that’ll give you energy!
Remember, staying hydrated and fueled isn’t just about comfort – it’s about safety. When you’re properly hydrated and fed, you make better decisions on the trail, and isn’t that what we all want?
Personal Comfort and Convenience Items
Let me tell you about the comfort items that can make or break a hike – because I’ve experienced both sides of that coin! It’s amazing how something as small as a bandaid or as simple as the right backpack can be the difference between an awesome day and a miserable one.
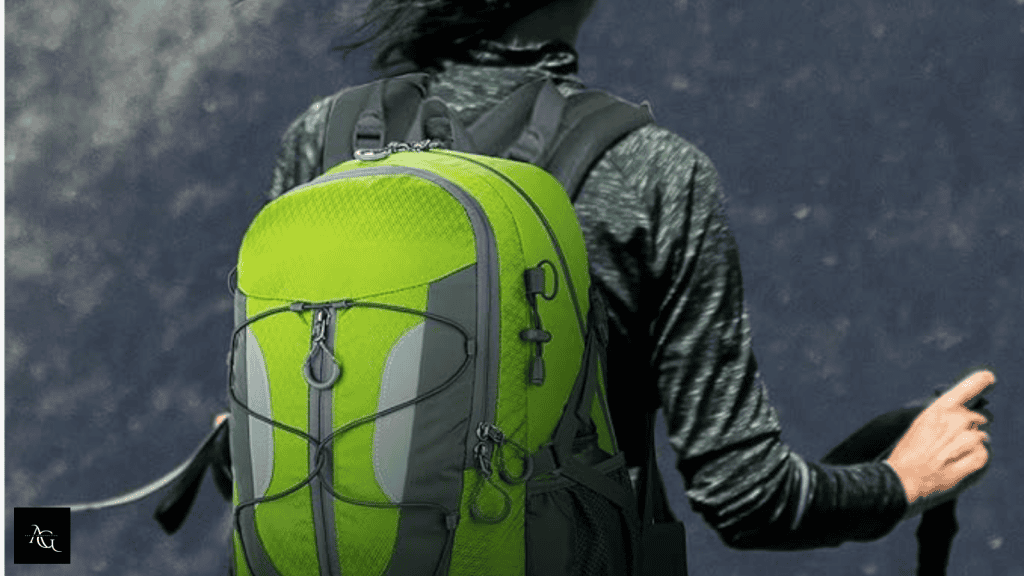
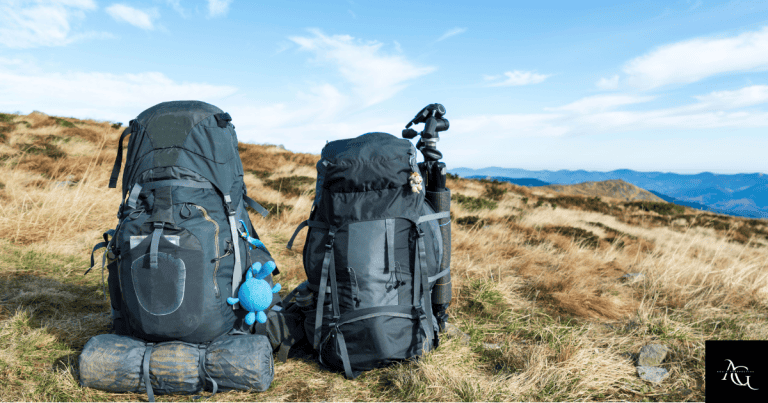
Speaking of backpacks, let me share my journey to finding the perfect one. After struggling with a cheap pack that left my shoulders aching for days, I finally learned what matters:
- Look for padded shoulder straps and a hip belt (your shoulders will thank you)
- Get a pack with multiple compartments (I organize by how often I need things)
- Aim for 20-30L capacity for day hikes
- Make sure it has a rain cover (or buy one separately)
- Test it with weight before hitting the trails (walk around your house for 30 minutes)
Blisters used to be my constant hiking companion until I got serious about prevention. Now my blister kit includes:
- Moleskin (cut into various sizes before your hike)
- Athletic tape (works better than bandaids for toe hotspots)
- Antibiotic ointment
- Foot powder (amazing for sweaty feet)
- Extra socks (because wet feet = blister city)
Let’s talk personal hygiene – not glamorous, but super important. My essentials include:
- Biodegradable wet wipes (these are gold on hot days)
- Hand sanitizer (use it before snacks!)
- Small toilet paper roll in a ziplock bag
- Ladies, don’t forget period supplies (even if you’re not expecting to need them)
- Small microfiber towel (doubles as a sweat rag)
The bug spray situation took me a while to figure out. After trying everything from natural sprays to full DEET, here’s what works:
- 30% DEET spray for serious bug territory
- Permethrin-treated clothing for tick prevention
- Bug head net (looks silly but worth it in black fly season)
- Bear spray if you’re in bear country (and know how to use it!)
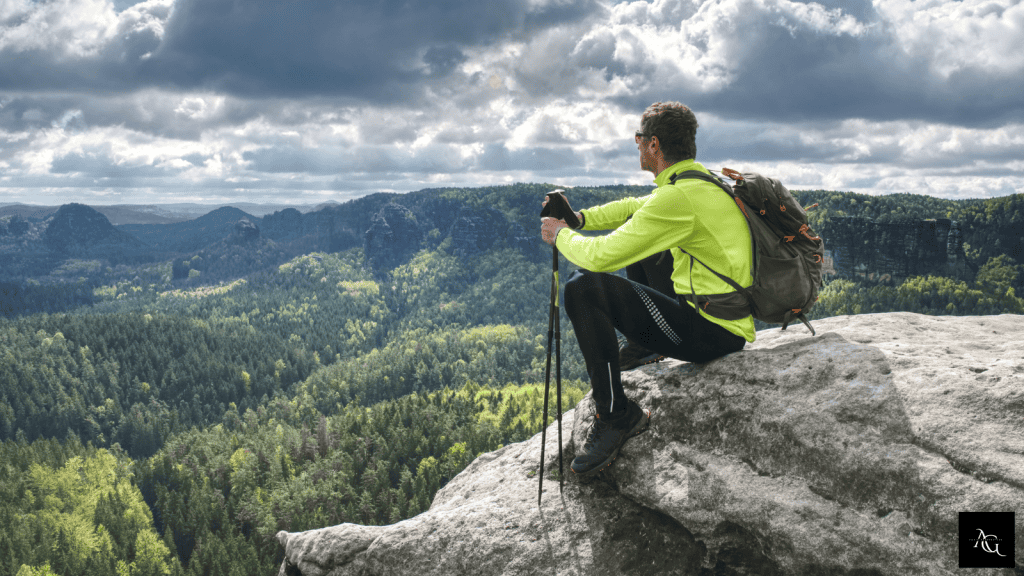
Now, trekking poles – I used to think they were just for “serious” hikers. Then I tried them on a steep descent and wow! Consider them if:
– You have knee issues (they reduce impact significantly)
– You’re carrying a heavy pack
– You’re hiking steep terrain
– You want better balance on stream crossings
– You’re hiking in winter (they help with ice)
For capturing memories, I’ve learned to keep it simple:
- Phone camera (but keep it in airplane mode to save battery)
- Small power bank
- Waterproof phone case
- Optional: lightweight point-and-shoot camera (better than lugging a DSLR)
Pro tip that took me way too long to figure out: pack these items in clear zip-lock bags and organize them by category. I use different sizes: sandwich bags for small items, gallon bags for clothing. This way, when you need something, you can see exactly where it is without dumping out your whole pack!
Remember those “just in case” items that seem silly until you need them:
- Small package of tissues
- Lip balm with SPF
- Anti-chafe balm (your thighs might thank you)
- Safety pins (they’ve saved me more times than I can count)
- Small multi-tool
The best advice I can give? Test your comfort system on short hikes before tackling bigger adventures. What works for others might not work for you, and that’s okay! It took me years to dial in my perfect comfort kit, but now my hikes are so much more enjoyable.
And please, don’t skip the personal hygiene items to save weight. Being uncomfortable on the trail isn’t worth those few saved ounces. Trust me, I learned that lesson the hard way!
Special Considerations
Let me share some special hiking considerations I’ve learned over the years – because hiking isn’t one-size-fits-all, and sometimes those little extra preparations make all the difference!
Seasonal adjustments have become second nature after hiking year-round in Ontario. You wouldn’t believe the time I headed out for a “warm” spring hike only to encounter patches of ice on north-facing trails! Now I know:
Spring hiking needs:
– Waterproof boots (mud season is real!)
– Gaiters for deep mud
– Extra socks (spring streams are sneaky)
– Light layers (temperature swings can be wild)
Summer requirements:
– Extra water (I add 50% more than usual)
– Sun protection (hat, sunscreen, sunglasses)
– Bug protection (especially for dawn/dusk hikes)
– Quick-dry clothing
Fall essentials:
– Bright colored clothing (it’s hunting season!)
– Warmer layers for sudden temperature drops
– Headlamp (shorter daylight hours sneak up on you)
– Thermos for hot drinks
Winter must-haves:
– Microspikes or crampons
– Insulated water bottles
– Hand and toe warmers
– Extra base layers
Speaking of regional considerations, each area has its quirks. In Ontario’s conservation areas, I’ve learned to pack:
- Bug head nets for black fly season
- Bear spray for remote areas
- Tick prevention gear
- Local trail permits
Group hiking brings its own challenges. After leading several group hikes, I always pack:
- Basic first aid supplies for others
- Extra water and snacks
- Emergency communication device
- Group shelter for rest stops
- Paper maps to share
Now, hiking with pets (specifically dogs, since that’s my experience) needs special attention:
- Collapsible water bowl
- Extra water (they can’t tell you they’re thirsty!)
- Poop bags (pack it out, always!)
- Dog first aid items
- Leash (even for off-leash areas)
- Dog boots for rough terrain
- Cooling vest in summer
Weight management became crucial after my knees started complaining on longer hikes. Here’s what works:
- Pack heavy items close to your back
- Use lightweight alternatives where possible
- Remove excess packaging
- Choose multi-purpose items
- Weigh your pack before heading out
- Aim for no more than 10% of your body weight for day hikes
For accessibility, I’ve learned some valuable lessons hiking with friends who have different abilities:
- Trekking poles for balance issues
- Braces for joint support
- Rest stop planning
- Trail grade research beforehand
- Emergency evacuation plans
- Modified first aid supplies
Pro tip that took me years to figure out: create seasonal packing lists and keep them on your phone. When the weather changes, you won’t forget to swap out gear. I learned this after forgetting my microspikes on the first icy day of the season!
One thing I always tell new hikers: these considerations aren’t about being overprepared – they’re about being appropriately prepared for your specific situation. What works for a summer day hike won’t work for a winter trek, and what works for solo hiking might not cut it for group adventures.
Remember, the goal is to enjoy your time outdoors safely. Taking these special considerations into account means you can focus on the beauty around you instead of worrying about being unprepared. And isn’t that what hiking is all about?
Conclusion:
The perfect day hike packing list evolves with experience and varies based on your specific needs and conditions. Start with these essentials and adjust as you learn what works best for you. Always check the weather forecast and trail conditions before heading out. Happy hiking, and stay safe on the trails!