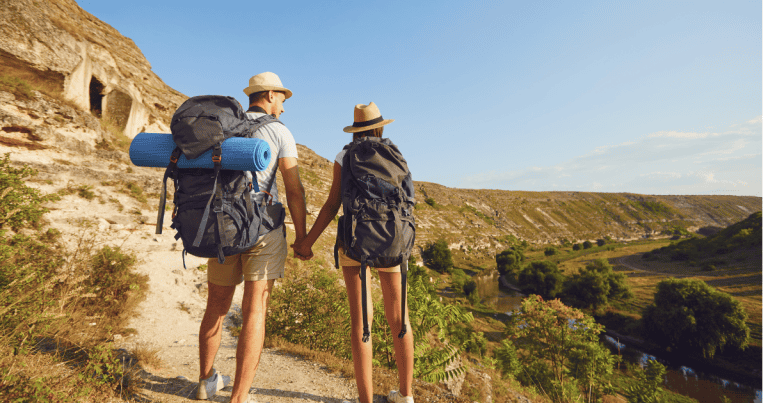
How to Choose Hiking Gear for Beginners: Complete Guide 2025
Did you know that 57.8 million Americans went hiking in 2020? That’s a lot of boots on the trail! But here’s the thing – choosing the right hiking gear can feel overwhelming when you’re just starting out. I remember my first hiking gear purchase… let’s just say those $20 boots weren’t the bargain I thought they were! Don’t worry though – I’ve made all the mistakes so you don’t have to. In this complete guide, we’ll break down exactly what hiking gear beginners need, what you can skip, and how to choose quality equipment without breaking the bank.
Essential Hiking Gear for Beginners: What You Actually Need vs. What You Can Skip
Listen, I’ve been there – standing in the outdoor store, completely overwhelmed by all the shiny gear while my credit card quietly whimpers in my wallet. After 15 years of hiking, I’ve learned exactly what gear you actually need and what’s just clever marketing.
Here’s the truth: you don’t need half the stuff those gear magazines tell you to buy. When I first started hiking, I dropped $400 on gear I barely used. That fancy GPS watch? It sat in my drawer while I used my phone’s free hiking app. That “ultralight” titanium spork? A regular plastic spoon would’ve worked just fine.
Let’s break down what you absolutely need to start hiking safely:
The “Must-Haves” (Don’t Skip These):
- A sturdy pair of hiking shoes or boots (they don’t need to be expensive, but they need to fit well)
- A backpack that can hold at least 20L (around $40-60 will get you something decent)
- Weather protection (a basic rain jacket – even a $30 one from Walmart will work to start)
- Water bottles (honestly, just clean out those old Gatorade bottles)
- First aid kit (try at any pharmacy or assemble yourself)
- Navigation tool (your phone with downloaded maps works great)
- Emergency shelter (a $5 emergency blanket is fine for day hikes)
Things You Can Skip (At Least for Now):
- Expensive hiking poles (unless you have knee issues)
- Technical hiking clothes (regular workout clothes work fine)
- Solar chargers (a basic battery pack is enough)
- Fancy water filtration systems (for day hikes, just bring enough water)
- High-end GPS devices (your phone is perfectly capable)
There’s one area where I don’t recommend skimping: your footwear. Trust me on this one – I once tried to save money by hiking 10 km in cheap sneakers. My blisters had blisters! A good pair of hiking shoes or boots is worth the investment, even if you have to eat ramen for a week to afford them.
Here’s my “starter kit” recommendation: spend about $150-200 total. Put most of that toward good shoes ($80-100), a basic backpack ($40), and spread the rest across essential safety gear. You can literally hit the trails with this setup and be perfectly fine for day hikes up to 5-6 km.
Pro tip: check places like MEC’s garage sales or end-of-season clearance events. I’ve scored some amazing deals this way. Last year, I found a $120 backpack for $45 just because it was last year’s color. Who cares if your gear matches? The trees sure don’t!
Remember, the best gear is the gear that gets you outside. You can always upgrade later as you figure out what you actually need for your specific hiking style. For now, focus on the basics, stay safe, and don’t let fancy gear marketing keep you from hitting the trails!
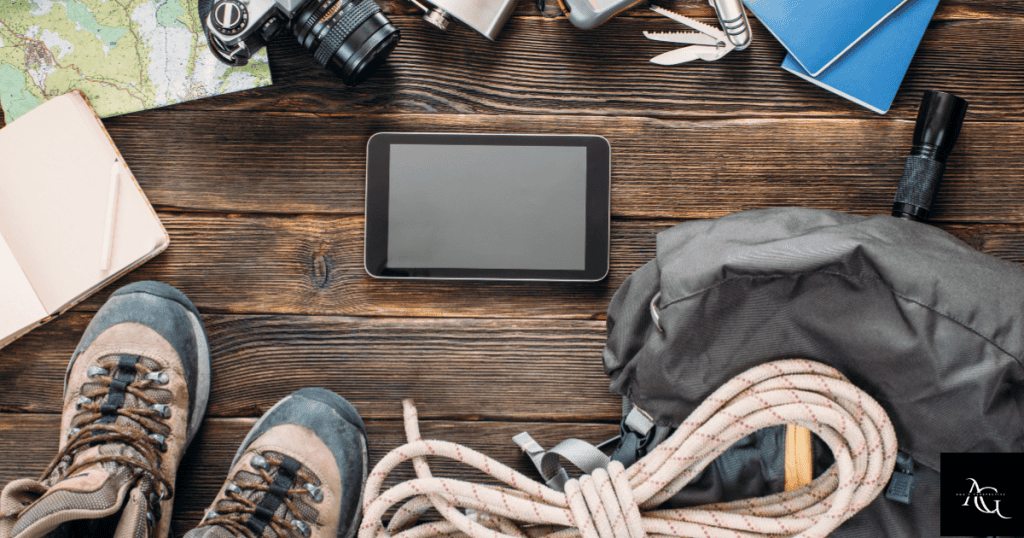
The Big Three: Choosing Your Footwear, Backpack, and Weather Protection
OH man, do I have some stories about “The Big Three” gear items! After making pretty much every mistake possible myself, I’ve learned exactly what matters when choosing these crucial pieces of gear. Let me save you from my early blunders.
First up: footwear. I’ll never forget my first “real” hike, wearing cheap boots I bought online without trying on. Big mistake. HUGE! By mile two, I had blisters the size of quarters, and by mile four, I was hiking in my socks. Not my proudest moment! Here’s what I’ve learned about choosing hiking footwear:
For boots/shoes, focus on these key points:
– Try them on late in the day when your feet are slightly swollen
– Wear proper socks you’ll actually hike in during fitting
– Your toes should have about a thumb’s width of space at the front
– Walk up and down an inclined surface in the store (most good shops have one)
– They should feel comfortable immediately – the “breaking in period” is mostly a myth
Price-wise, aim for the $120-180 range for your first pair. Anything less usually means compromised quality, and anything more is overkill for beginners. Trail runners are totally fine for most day hikes – you don’t need hardcore boots unless you’re tackling serious terrain or carrying heavy loads.
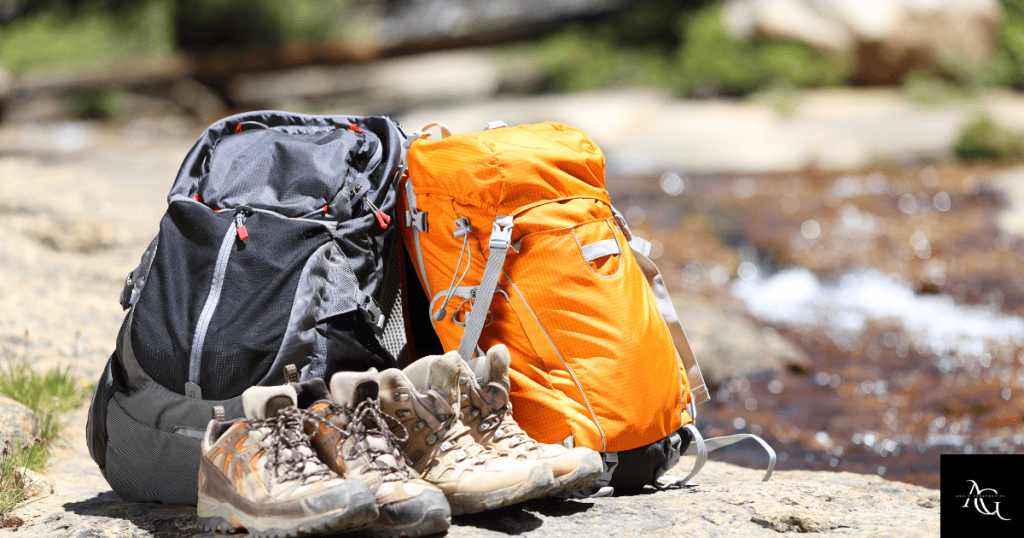
Now, let’s talk backpacks. I once bought this massive 65L backpack for day hiking because it was on sale. Talk about overkill! I looked like I was prepared for a month in the wilderness while everyone else had sensible daypacks. Here’s the real deal on packs:
For day hiking, you want:
– 20-30L capacity (this is plenty for day hikes)
– Padded shoulder straps (your shoulders will thank you)
– A hip belt (even a basic one helps distribute weight)
– At least one water bottle pocket
– A small zipper pocket for snacks and essentials
Don’t get suckered into buying features you don’t need. That extra $50 for the hydration sleeve? Skip it – a water bottle works just fine. Most people do great with a pack in the $60-90 range.
Finally, weather protection. This is where I see so many newbies go wrong (myself included). I once wore a cheap plastic poncho on a rainy hike – it shredded halfway through, and I ended up looking like a wet dog in confetti! Here’s what actually matters:
Rain jacket essentials:
– Make sure it’s actually waterproof, not just water-resistant
– Look for pit zips (trust me, you’ll want the ventilation)
– Make sure you can fit a warm layer underneath
– Consider going up a size for layering flexibility
– Aim for the $70-120 range for your first one
The sweet spot for weather protection is a simple rain shell that packs down small. You don’t need Gore-Tex Pro or any fancy membrane when you’re starting out. Something basic but reliable from a brand like Columbia or Marmot will do just fine.
Pro tip that saved me hundreds: hit the MEC Garage Sales or shop end-of-season clearance. Last fall, I scored a $200 rain shell for $85 just because it was last season’s color. The rain doesn’t care if your jacket is “so last season!”
One final piece of advice: try everything on together. Make sure you learn how to pack your backpack…I learned this the hard way when I realized my backpack’s hip belt didn’t play nice with my rain jacket’s pockets. Take time in the store to make sure all your gear works as a system.
Remember, these three items are your first line of defense against an uncomfortable or dangerous situation on the trail. It’s worth spending a bit more time and money getting them right. But don’t go overboard – I’ve seen plenty of happy hikers rocking basic gear from budget-friendly brands. The trail doesn’t check price tags!
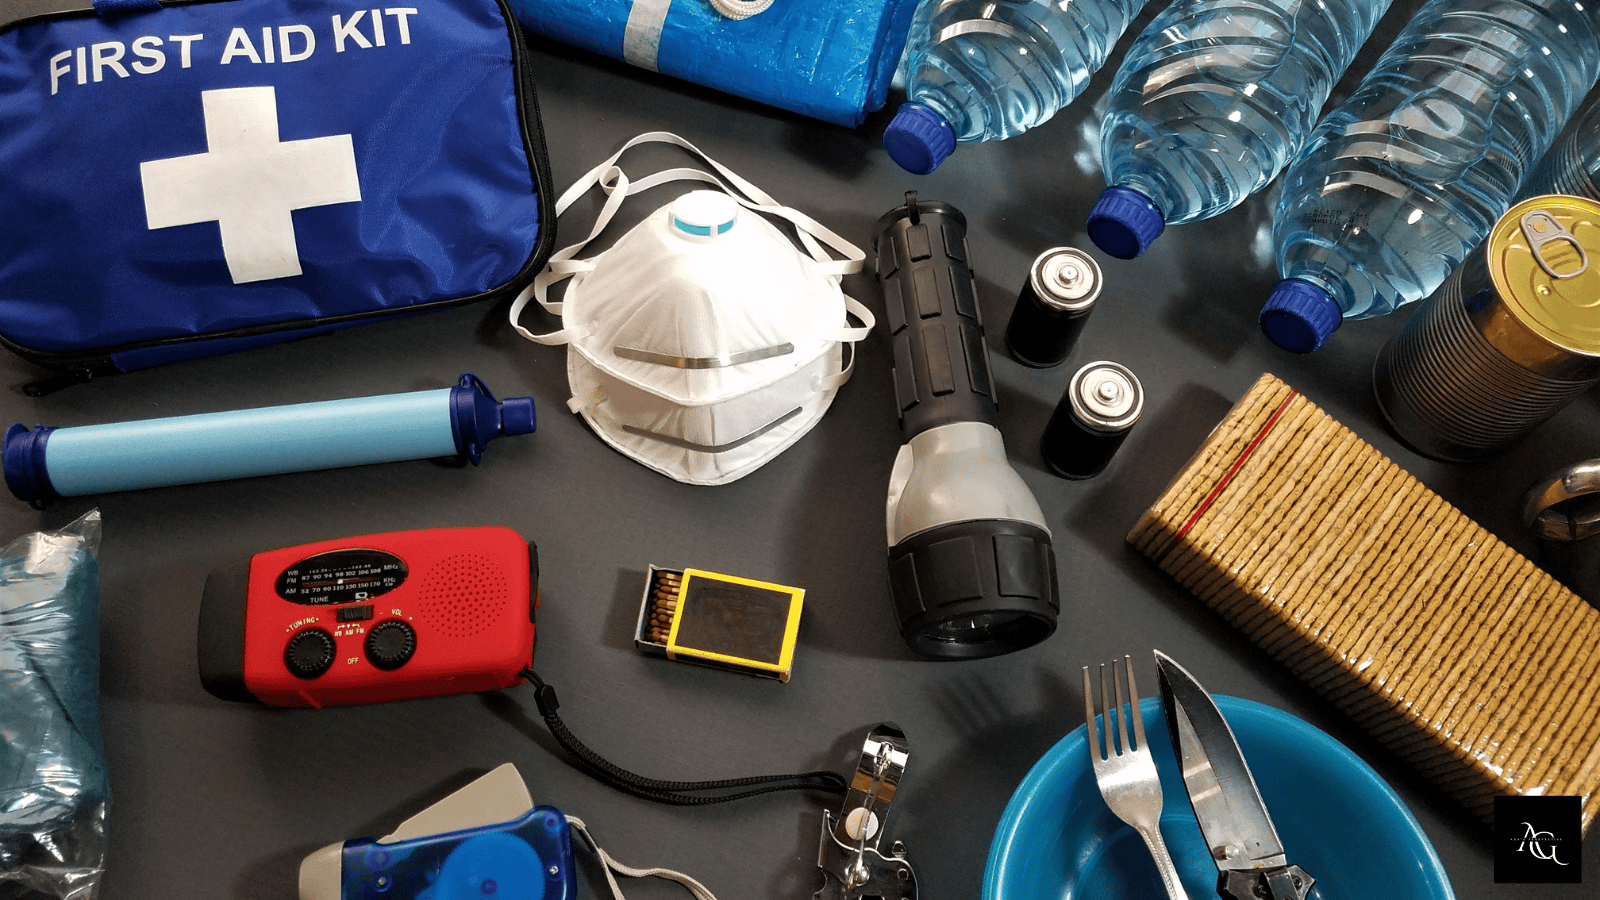
Safety Gear Every New Hiker Must Have
Alright, let me tell you about safety gear – something I admittedly used to roll my eyes at until one scary situation changed my whole perspective on trail safety. I still remember that moment when my “short afternoon hike” turned into a 6-hour ordeal after I took a wrong turn. That experience taught me exactly what safety gear really matters.
Let’s talk about the Ten Essentials first – but don’t worry, I’m not going to give you the same old boring list. Here’s what you actually need, based on real trail experience:
Navigation Tools:
Look, I love my fancy GPS watch now, but you know what saved my butt that one time? A $12 compass and a downloaded offline map on my phone. Always download your maps before hitting the trail – cell service likes to play hide and seek right when you need it most! And yes, carry a small compass even if you think you’ll never use it. Mine sat unused for two years until that one time when my phone died…
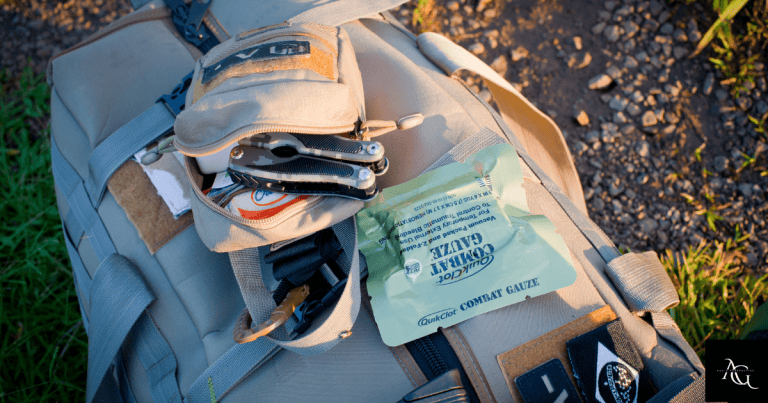
First Aid Kit Essentials:
Here’s a funny story – I once thought Band-Aids and ibuprofen were enough for a first aid kit. Then I watched an experienced hiker pull out moleskin and save someone’s hike from brutal blisters. Now my kit has some real essentials:
– Moleskin or blister prevention (trust me on this one)
– Athletic tape (works for everything from blisters to sprained ankles)
– Basic medications (ibuprofen, antihistamine, antacids)
– Small scissors and tweezers (for those pesky splinters)
– Antiseptic wipes and antibiotic ointment
– Various sized bandages
– A small roll of gauze
You can build this kit yourself for about $25, way cheaper than pre-made kits and actually useful for real hiking situations.
Emergency Shelter:
I used to think emergency blankets were just for hardcore mountaineers until I huddled under one during an unexpected thunderstorm. Best $5 I ever spent! Get one of those mylar emergency blankets – they weigh nothing and can be a literal lifesaver. Throw in a small emergency whistle too (the one that came with my backpack has actually helped me signal to my group twice).
Fire Starting:
Keep it simple but reliable. I carry:
– A mini Bic lighter in a zip-lock bag
– Some dryer lint in a small baggie (best fire starter ever!)
– Storm matches as backup
Water Treatment:
For day hikes, I usually just carry enough water (1L per 2 hours is my rule of thumb). But after running out once on a longer-than-planned hike, I now always toss in a few water purification tablets. They weigh nothing and cost about $8 for a pack that’ll last years.
The “Just-in-Case” Items That Have Saved My Butt:
– Mini headlamp ($15 – because sometimes hikes run long)
– Small multi-tool ($20 – used mine more times than I can count)
– Emergency snacks (always pack an extra protein bar)
– Battery bank (doesn’t need to be fancy, just enough for one phone charge)
Here’s a pro tip that took me years to learn: organize your safety gear in clear zip-lock bags and always keep it in the same spot in your pack. When you need something in a hurry, you don’t want to be dumping out your entire backpack on the trail (been there, done that, not fun).
The whole setup might sound like a lot, but it all fits in a gallon-sized zip-lock bag and weighs less than 2 pounds. I’ve helped out other hikers with every single item in this kit at some point. That feeling when you can help someone else on the trail? Priceless.
And please, don’t skip safety gear to save weight or money. I cringe thinking about my early hiking days when I thought nothing could go wrong on a “simple day hike.” Mother Nature has a funny way of humbling us! Your safety gear might sit unused in your pack for months, but when you need it, you REALLY need it.
What to Wear Hiking: Clothing and Layering Systems
Let me tell you about hiking clothes – and no, I’m not going to tell you to go buy a $500 wardrobe from Sporting Life! After years of trial and error (and one particularly miserable rainy hike in cotton jeans), I’ve figured out exactly what works and what’s just marketing hype.
First, let’s talk about the famous “cotton kills” saying. I used to think this was just outdoor snobs being elitist until I hiked 5 miles in a cotton t-shirt on a hot day. By mile 3, I felt like I was wearing a wet blanket! Here’s the real deal: cotton holds onto moisture like my dog holds onto his favorite tennis ball – it just won’t let go!
The Three-Layer System (That Actually Works):
Let me break this down into real-world terms, not catalog-speak:
Base Layer:
Any synthetic workout shirt will do! Those $15 running shirts from Walmart? Perfect! I wore one of those bad boys while hiking, and guess what? Worked just as well as my friend’s fancy $80 merino wool shirt. The key is that it wicks sweat away from your skin.
Mid Layer:
This is your insulation – think fleece or puffy jacket. Here’s a money-saving tip I learned: those basic fleece jackets from Costco? They work great! I’ve had mine for three years of heavy use, and it’s still going strong. Paid $20 for it, and it keeps me just as warm as the expensive brands.
Outer Layer:
This is your weather protection – your rain jacket or wind shell. Now, this is one area where I do recommend spending a bit more. My first $30 rain jacket from a discount store turned into a personal sauna on the trail. Look for something with pit zips (armpit ventilation) – trust me on this one!
Let’s Talk Pants:
After that infamous cotton jeans disaster (imagine wearing wet cardboard for 4 hours), I’ve learned that any synthetic hiking pants or athletic shorts will do. Those convertible pants that zip off into shorts? They look dorky, but they’re actually super practical! I found mine on sale for $40, and they’ve lasted three seasons.
Quick Tips I Learned the Hard Way:
– Always pack a warm hat, even in summer (your mom was right about this one)
– Bring an extra pair of socks (wet feet are miserable feet)
– Skip the cotton underwear (trust me on this – synthetic or wool only)
– Those fancy hiking gaiters? Skip ’em unless you’re hitting really muddy trails
– Bandanas are multi-use champions – neck protection, sweat rag, emergency bandage
Seasonal Adjustments That Matter:
Summer Hiking:
– Light colors reflect sun better (learned this after roasting in a black shirt)
– Long sleeves can actually be cooler than short sleeves (sun protection!)
– Pack a light rain shell even on sunny days (weather changes fast)
Winter Hiking:
– Layer like an onion, but avoid sweating (it’s a delicate balance)
– Keep a dry backup layer in your pack (wet clothes + cold = bad news)
– Don’t forget sunscreen (snow reflection is no joke)
The Most Important Thing I’ve Learned:
You don’t need special hiking clothes for every condition. The $200 “hiking-specific” shirt? A $20 synthetic workout shirt works just fine. Those $150 convertible pants? The $40 ones work exactly the same.
Remember this: your hiking clothes need to do three things – keep you comfortable, protect you from the elements, and wick sweat. Everything else is just fancy marketing. Start with the basics, and upgrade only when you find a genuine need for something more specialized.
And please, learn from my mistake – pack your layers even if the forecast looks perfect. Mountain weather is about as predictable as a cat on caffeine, and it’s better to have it and not need it than need it and not have it!
Budget-Friendly Gear Shopping: Where and When to Buy
Let me share what I’ve learned about scoring great hiking gear without emptying your bank account. After years of both smart purchases and “what was I thinking” moments, I’ve figured out exactly how to get quality gear on a budget.
First, let’s talk about timing – because it’s everything in gear shopping. The outdoor industry is super predictable with their sales cycles. Here’s the insider scoop I wish someone had told me years ago:
Best Times to Buy:
- Late August/September (end of summer clearance)
- Late February/March (winter gear closeouts)
- Memorial Day and Labor Day weekends
- Black Friday/Cyber Monday (my favorite time to grab big-ticket items)
I once scored a $200 backpack for $85 during Labor Day sale. The only “downside”? It was last year’s color scheme. The chipmunks haven’t complained about it yet! 😂
For Reviews and Price Comparison:
- OutdoorGearLab.com (my go-to for honest reviews)
- MEC’s user reviews (real hikers, real experiences)
- Reddit’s r/geartrade for used gear
- Facebook Marketplace (but be smart about it)
What to Never Buy Used (Learn From My Mistakes):
- Helmets (safety first!)
- Water filters (unless you’re sure about their history)
- Climbing gear
- Heavily worn boots (they mold to the first owner’s feet)
Here’s my “shopping smart” checklist that I’ve developed:
- Always check last season’s colors (usually 30-40% cheaper)
- Look for cosmetic blemishes (who cares about a tiny scratch?)
- Compare prices across at least 3 sites
- Check if your workplace or school offers outdoor store discounts
- Join gear companies’ email lists (yes, really – best deals come through email)
The “Buy Once, Cry Once” Items: Some gear is worth waiting for the right deal on quality stuff:
- Boots/shoes (your feet will thank you)
- Rain jacket (being wet is miserable)
- Backpack (back pain isn’t worth the savings)
Budget Brand Recommendations:
- Decathlon (their Quechua line is surprisingly good)
- Columbia (especially during their sales)
- Geardtade
- SAIL
I learned this the hard way: spending $200 once on quality gear is cheaper than spending $75 three times on stuff that falls apart. That said, don’t get caught up in brand names. Some of my most reliable gear comes from brands that wouldn’t impress any gear snobs.
One last pro tip: create a gear wish list and set price alerts on multiple sites. I waited three months to buy my hiking boots, but I got them for 40% off because I knew exactly when they went on sale. Patience in gear shopping isn’t just a virtue – it’s money in your pocket!
Remember, expensive gear doesn’t make you a better hiker. Some of the most experienced hikers I know piece together their kit from bargain finds and hand-me-downs. It’s not about having the fanciest gear – it’s about having gear that works for you and your budget.
Building Your Gear Collection Over Time
Let me tell you about building a gear collection the smart way – something I wish someone had explained to me when I started! Instead of blowing my entire budget at once (like I did), there’s actually a strategic way to build your hiking kit over time.
First, let’s talk about the “first purchases” priority list. I learned this through trial and error – and believe me, there was plenty of error! Here’s how I recommend spreading out your gear purchases:
Month 1 Essentials ($200-250 total):
– Good hiking shoes/boots ($100-120)
– Basic daypack ($40-50)
– Water bottles ($15)
– Basic first aid kit ($20)
– Rain jacket ($50)
I still remember my first hiking disaster when I thought I could skip the rain jacket to save money. Two hours of hiking in unexpected rain taught me that some gear isn’t optional!
Month 2-3 Upgrades ($100-150):
– Better socks (2-3 pairs of wool socks)
– Proper synthetic hiking clothes
– Basic navigation tools
– Emergency shelter
– Headlamp
Here’s a funny story – I once thought my phone flashlight would be enough for an evening hike. Then my phone died, and I had to follow another hiker’s headlamp beam out. Talk about a humbling experience!
Testing Your Gear:
I’ve developed what I call the “neighborhood test” system:
– Wear new boots around the house for at least 2 hours
– Load your pack with actual gear and walk a mile
– Test your rain gear in actual rain (your shower works too!)
– Practice using every piece of safety gear at home
Smart Upgrade Path (Months 4-12):
– Better hiking pants when your basic ones wear out
– Quality mid-layer fleece
– Trekking poles if you find you need them
– Better navigation tools
– Upgraded backpack if you’re hiking more
The “Wait and See” Items:
– Expensive GPS devices
– Ultralight gear
– Specialized clothing
– High-end camera equipment
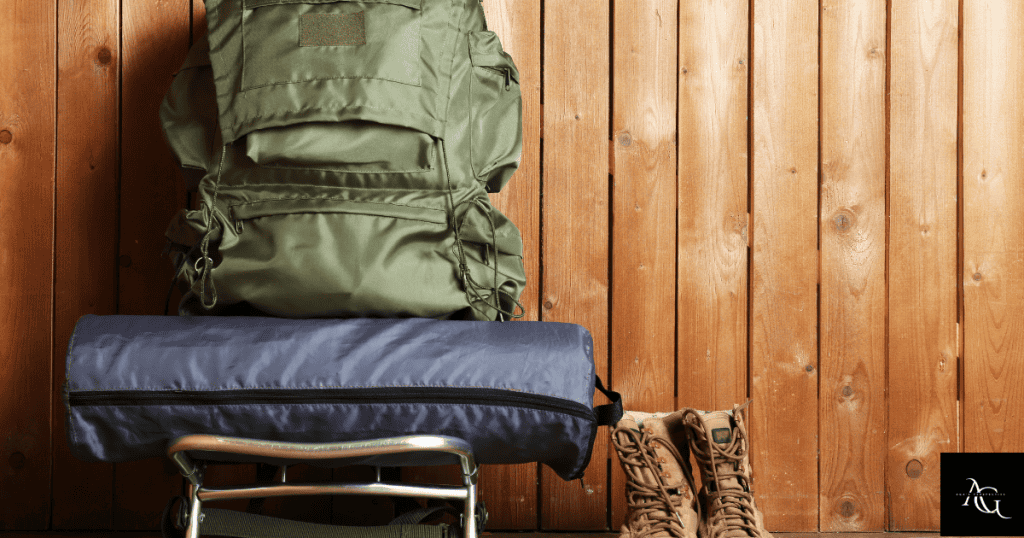
Let me tell you what I’ve learned about gear storage and maintenance – these tips have saved me hundreds in replacement costs:
Storage Tips:
– Never store wet gear (learned this after my pack got moldy – yuck!)
– Keep boots in a cool, dry place
– Hang technical clothing
– Clean and dry gear after every hike
Maintenance Schedule I Follow:
– Monthly boot waterproofing check
– Seasonal gear inspection
– Yearly first aid kit update
– Post-hike cleaning routine
Here’s my biggest gear-building secret: the “one in, one out” rule. Every time I upgrade a piece of gear, I donate or sell the old piece (if it’s still usable). This keeps my gear collection from getting overwhelming and helps other new hikers score affordable gear.
Pro Tips I’ve Learned:
– Keep all your receipts (especially for expensive items)
– Take photos of your gear when new (helps with warranty claims)
– Track prices of items you want to upgrade
– Join local hiking groups for gear swap opportunities
The Upgrade Warning Signs I Now Watch For:
– Worn boot treads
– Delaminating rain gear
– Pack strap fraying
– Clothing losing its water resistance
Remember, building a gear collection is a journey, not a race. Some of my favorite pieces of gear were things I saved up for months to buy. The waiting period actually helped me research better and make smarter choices.
And here’s my final piece of advice: keep your starter gear as backup even after you upgrade. That basic rain jacket might not be your go-to anymore, but it’s perfect for lending to a friend you’re introducing to hiking. Plus, having backup gear has saved several group hikes when someone forgot something essential!
Focus on getting the basics right first, then let your actual hiking experiences guide your future purchases. There’s no need to own every piece of gear at MEC – just the gear that serves your actual hiking needs.
Conclusion
Remember, the best hiking gear for beginners is the gear that gets you outside safely and comfortably – it doesn’t need to be the most expensive or latest model. Start with the essentials we’ve covered, and build your collection as you gain experience. The most important thing is to get out there and start exploring! Have questions about specific gear? Drop them in the comments below, and I’ll help you make the right choice for your hiking adventures.